Task
For my second Independent Design Challenge (IDC2), I aimed to address a real-world problem by combining Arduino with other technology. This project eventually incorporated a Raspberry Pi to enable creative technical solutions. My focus was on tackling a personal productivity issue: staying focused during study or work sessions without external accountability.
To manage this, I often relied on a Pomodoro timer. A Pomodoro timer is a time-management tool that breaks work into intervals (traditionally 25 minutes of focused work followed by a 5-minute break). This method helps improve concentration by encouraging structured work and rest periods, minimizing burnout and distractions.
I thought it would be cool to combine this tool, which I already use frequently, with a field I’m particularly interested in: computer vision. This project aimed to create a physical version of the Pomodoro timer enhanced with computer vision, providing an automated system to monitor productivity and deliver real-time feedback to keep users focused and on track with their work.
*Despite its name it will NOT blow up!
Goal
The goal of this project was to design and build a device capable of monitoring user presence during a Pomodoro work session and detecting phone usage. The system needed to provide feedback to encourage focus, integrate seamlessly into a workspace, and function independently of a computer display. The final product had to be simple, intuitive, and impactful in addressing common productivity challenges.
Design Concept
The Pomodoro Productivity Tracker was designed as a two-part system:
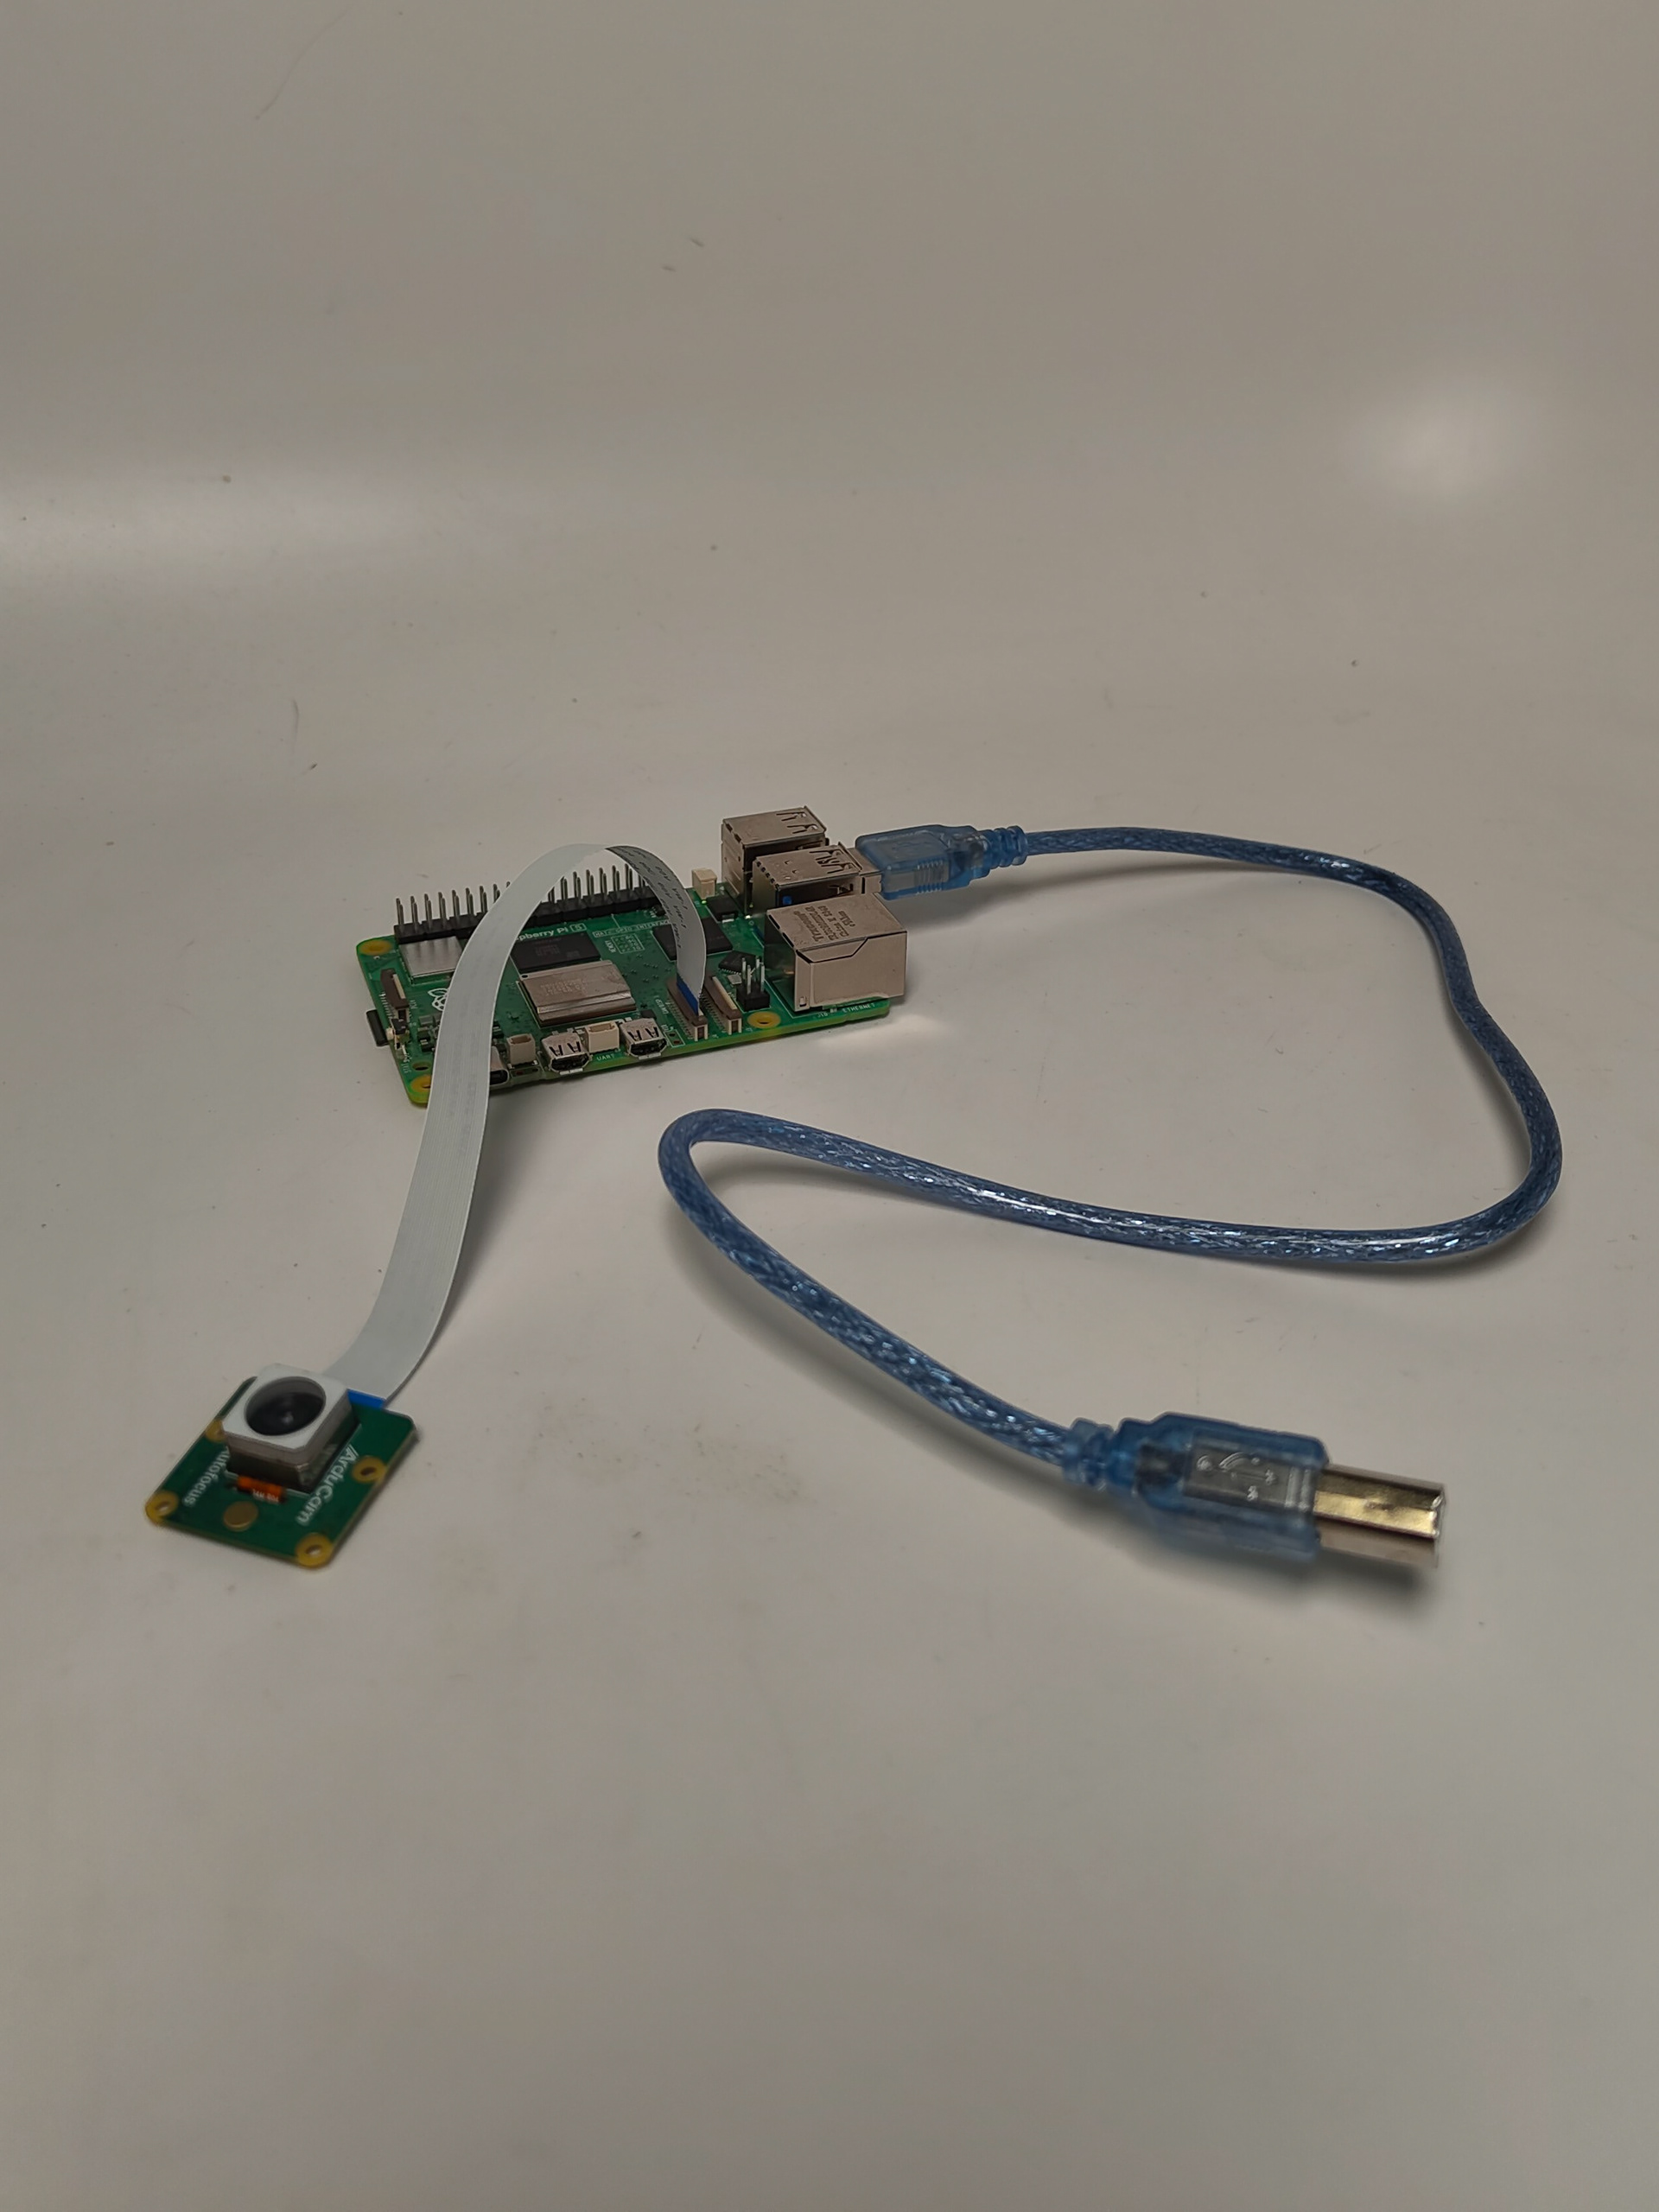
Raspberry Pi: Handles body presence and phone usage detection using a camera and the MediaPipe library.
Arduino: Manages the timer, user inputs, and buzzer feedback for work and break sessions.
The modular design enables flexibility, with the Arduino controlling the work/break timer and the Raspberry Pi monitoring distractions. The Arduino receives signals from the Raspberry Pi via serial communication and triggers the buzzer when the user is absent or checks their phone during a work session.
Physical Design
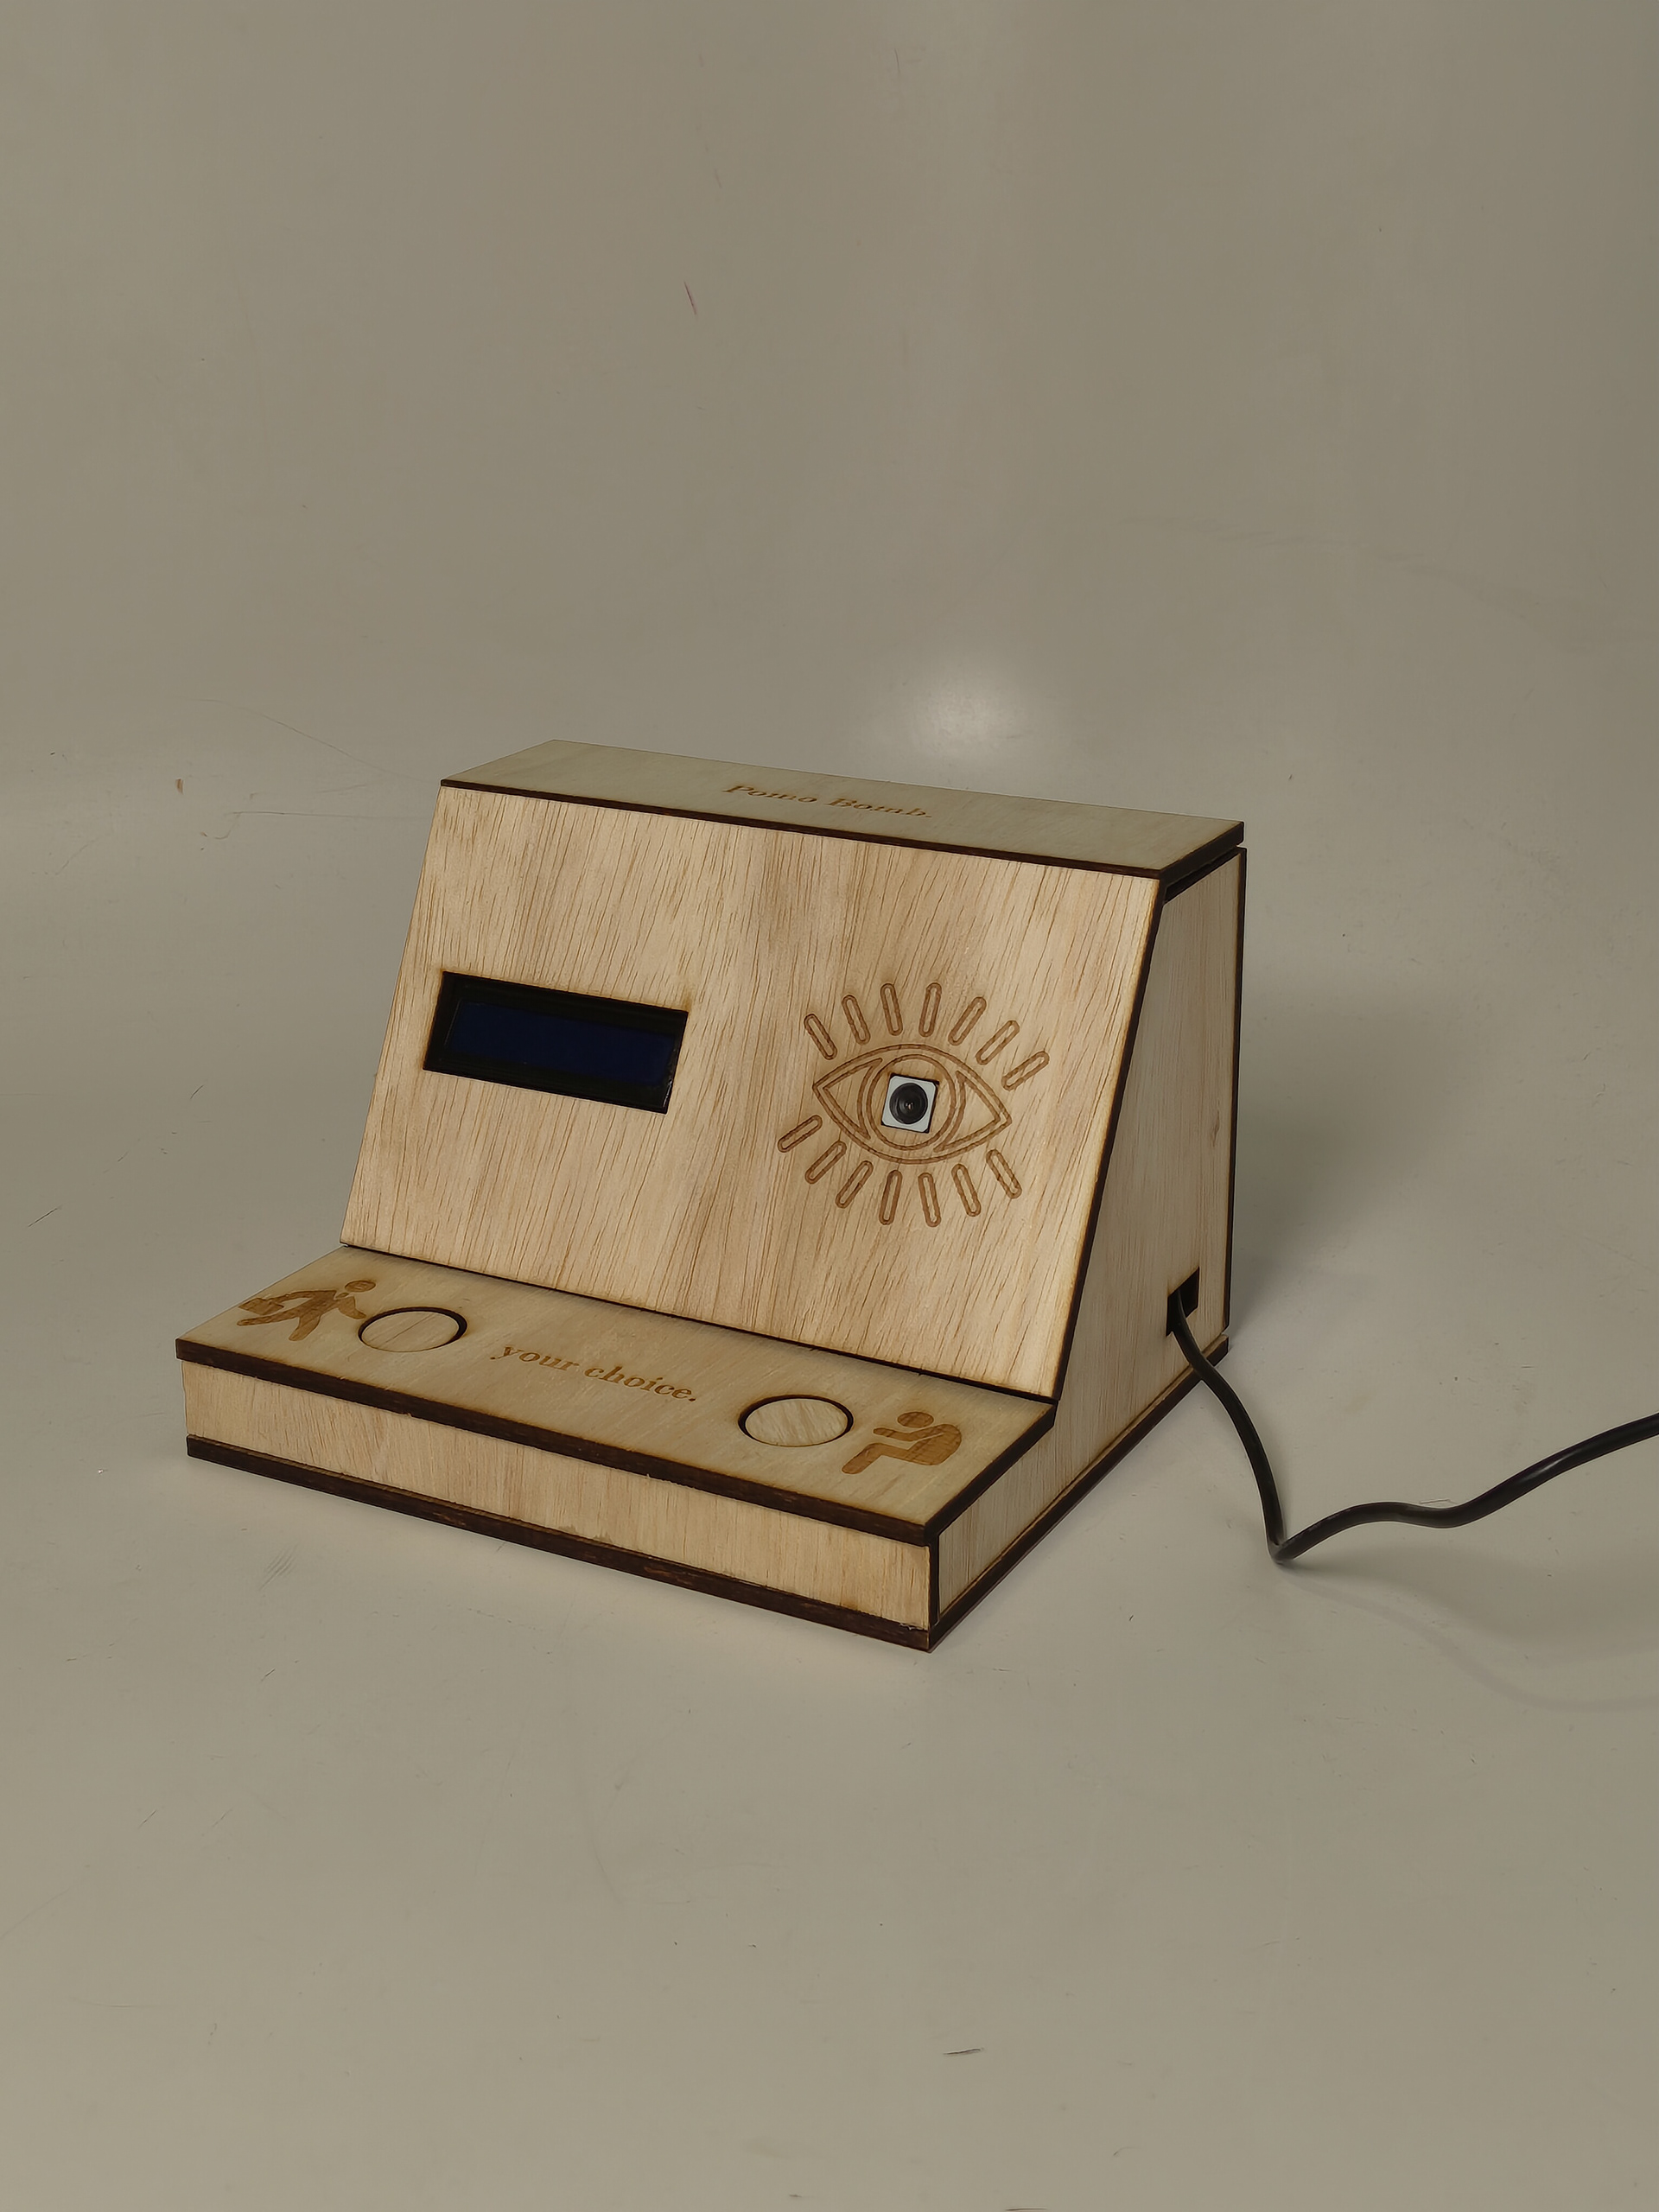
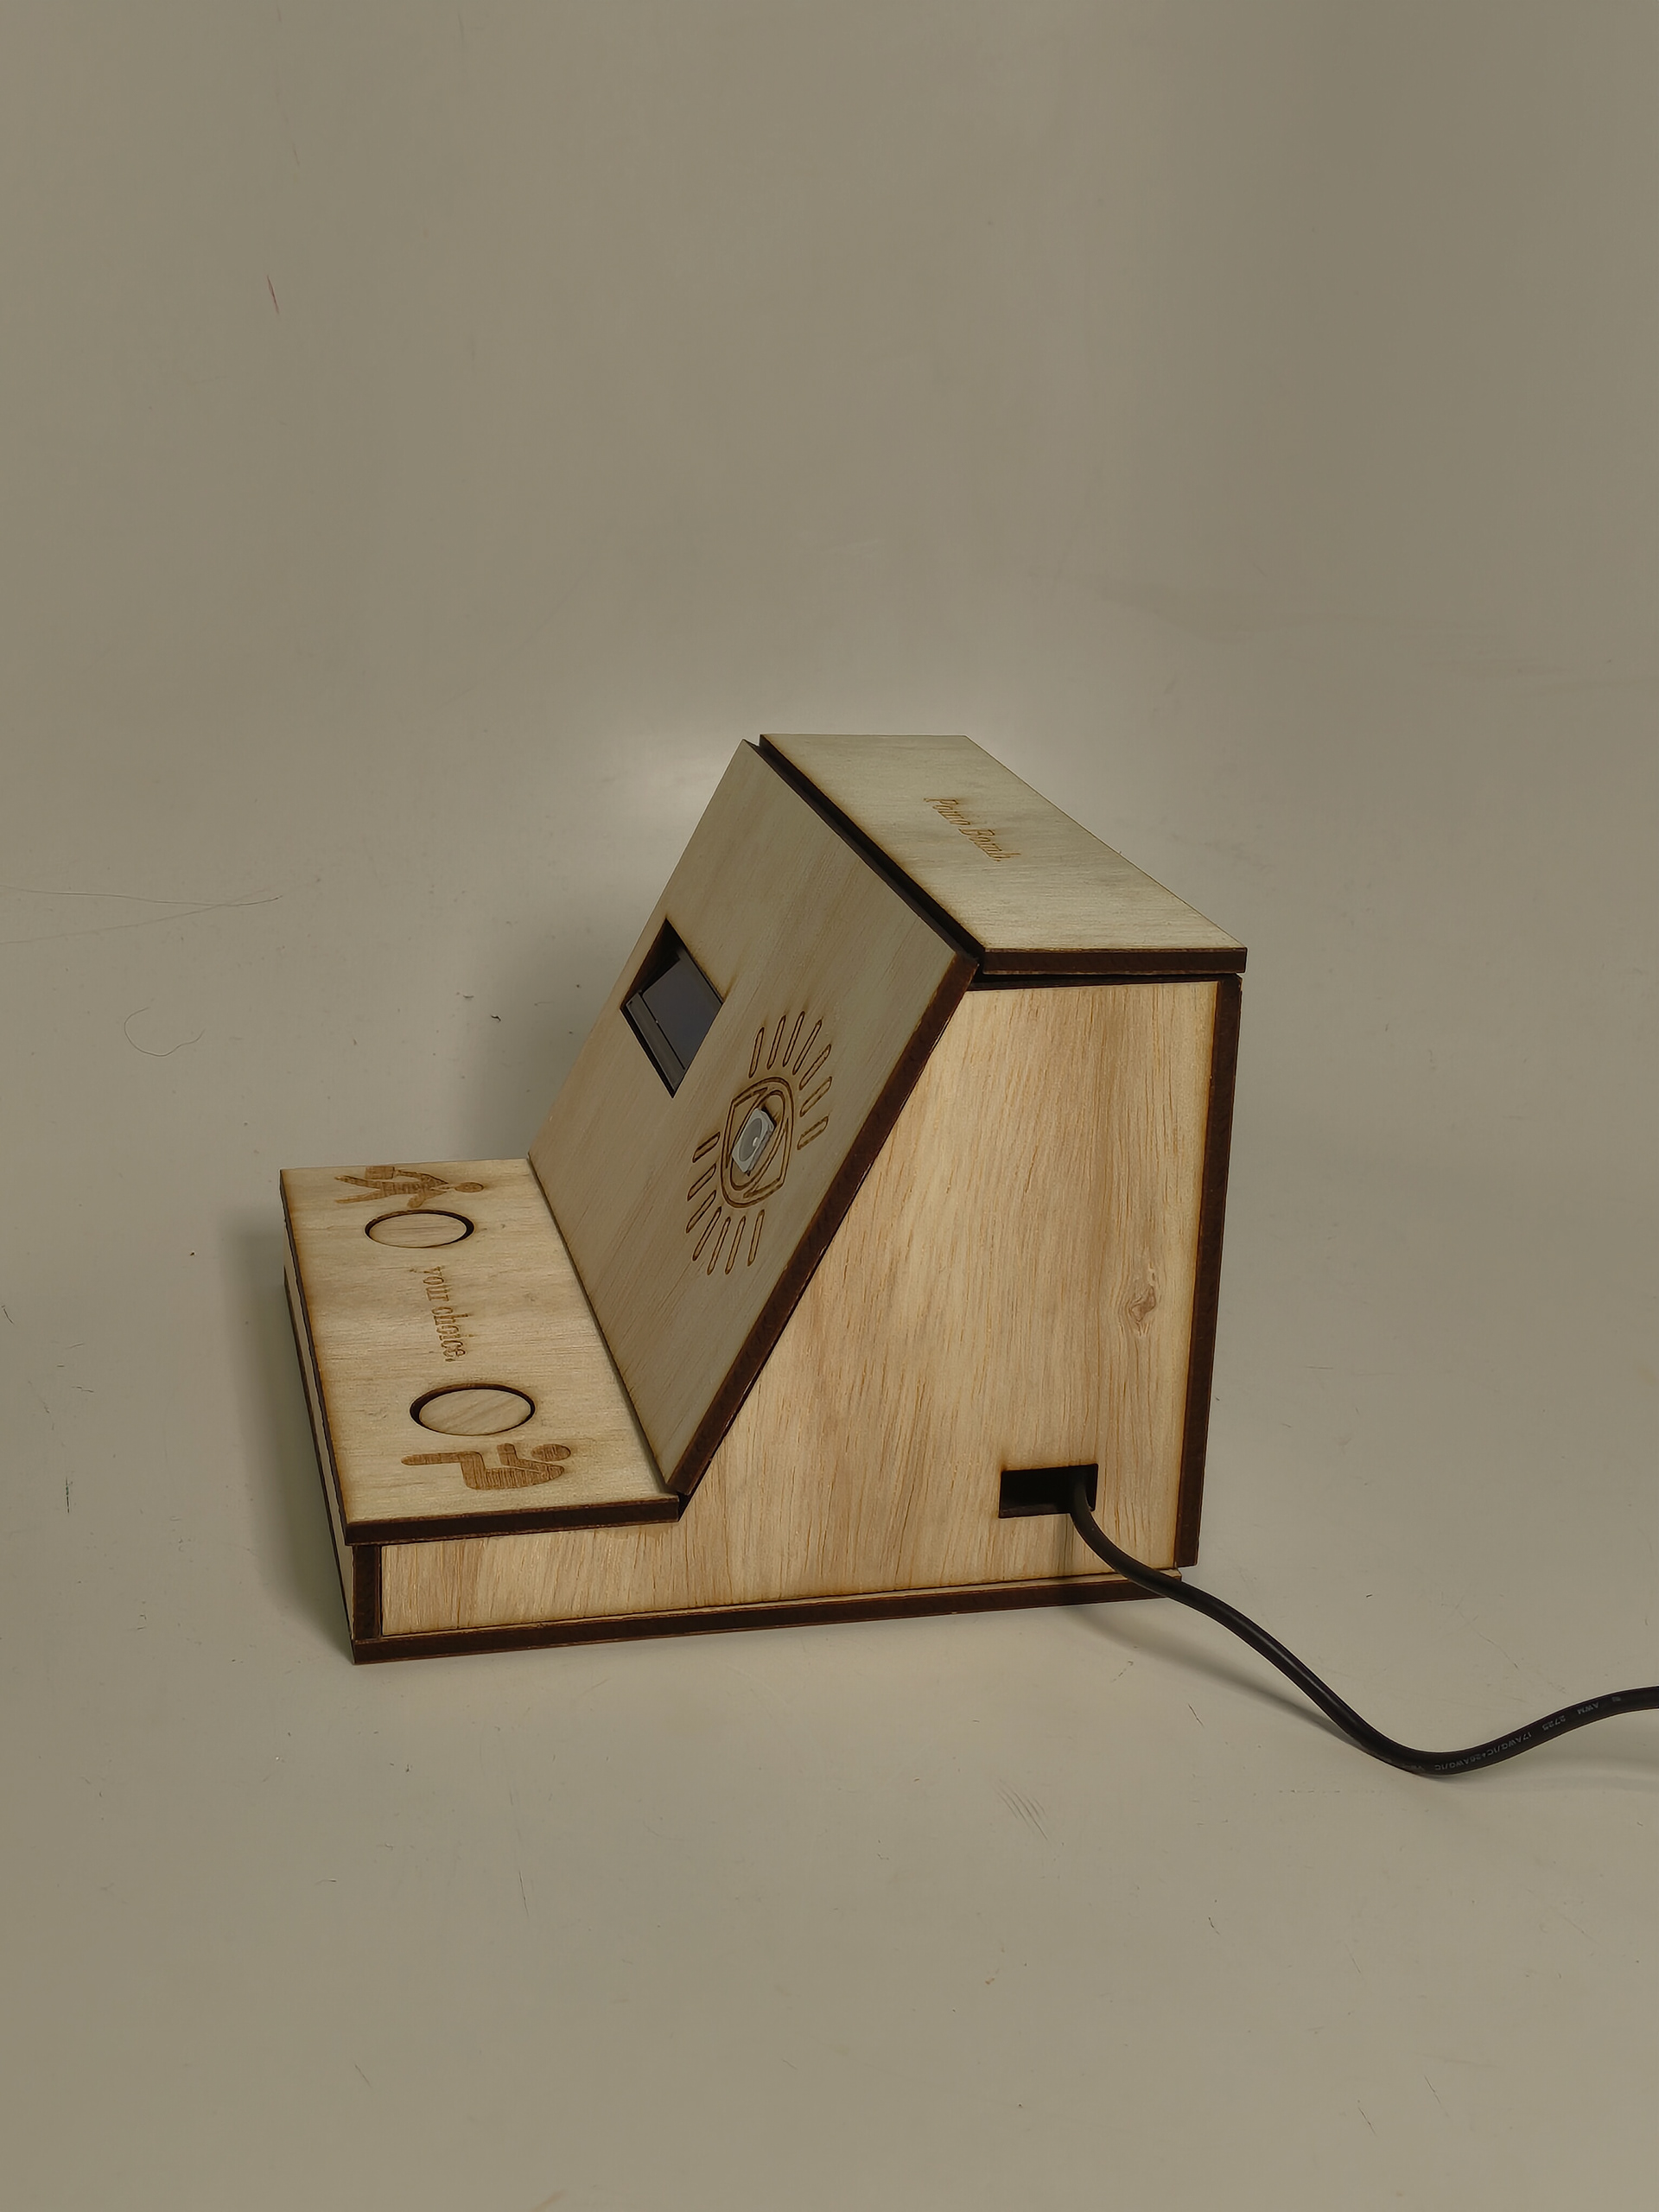
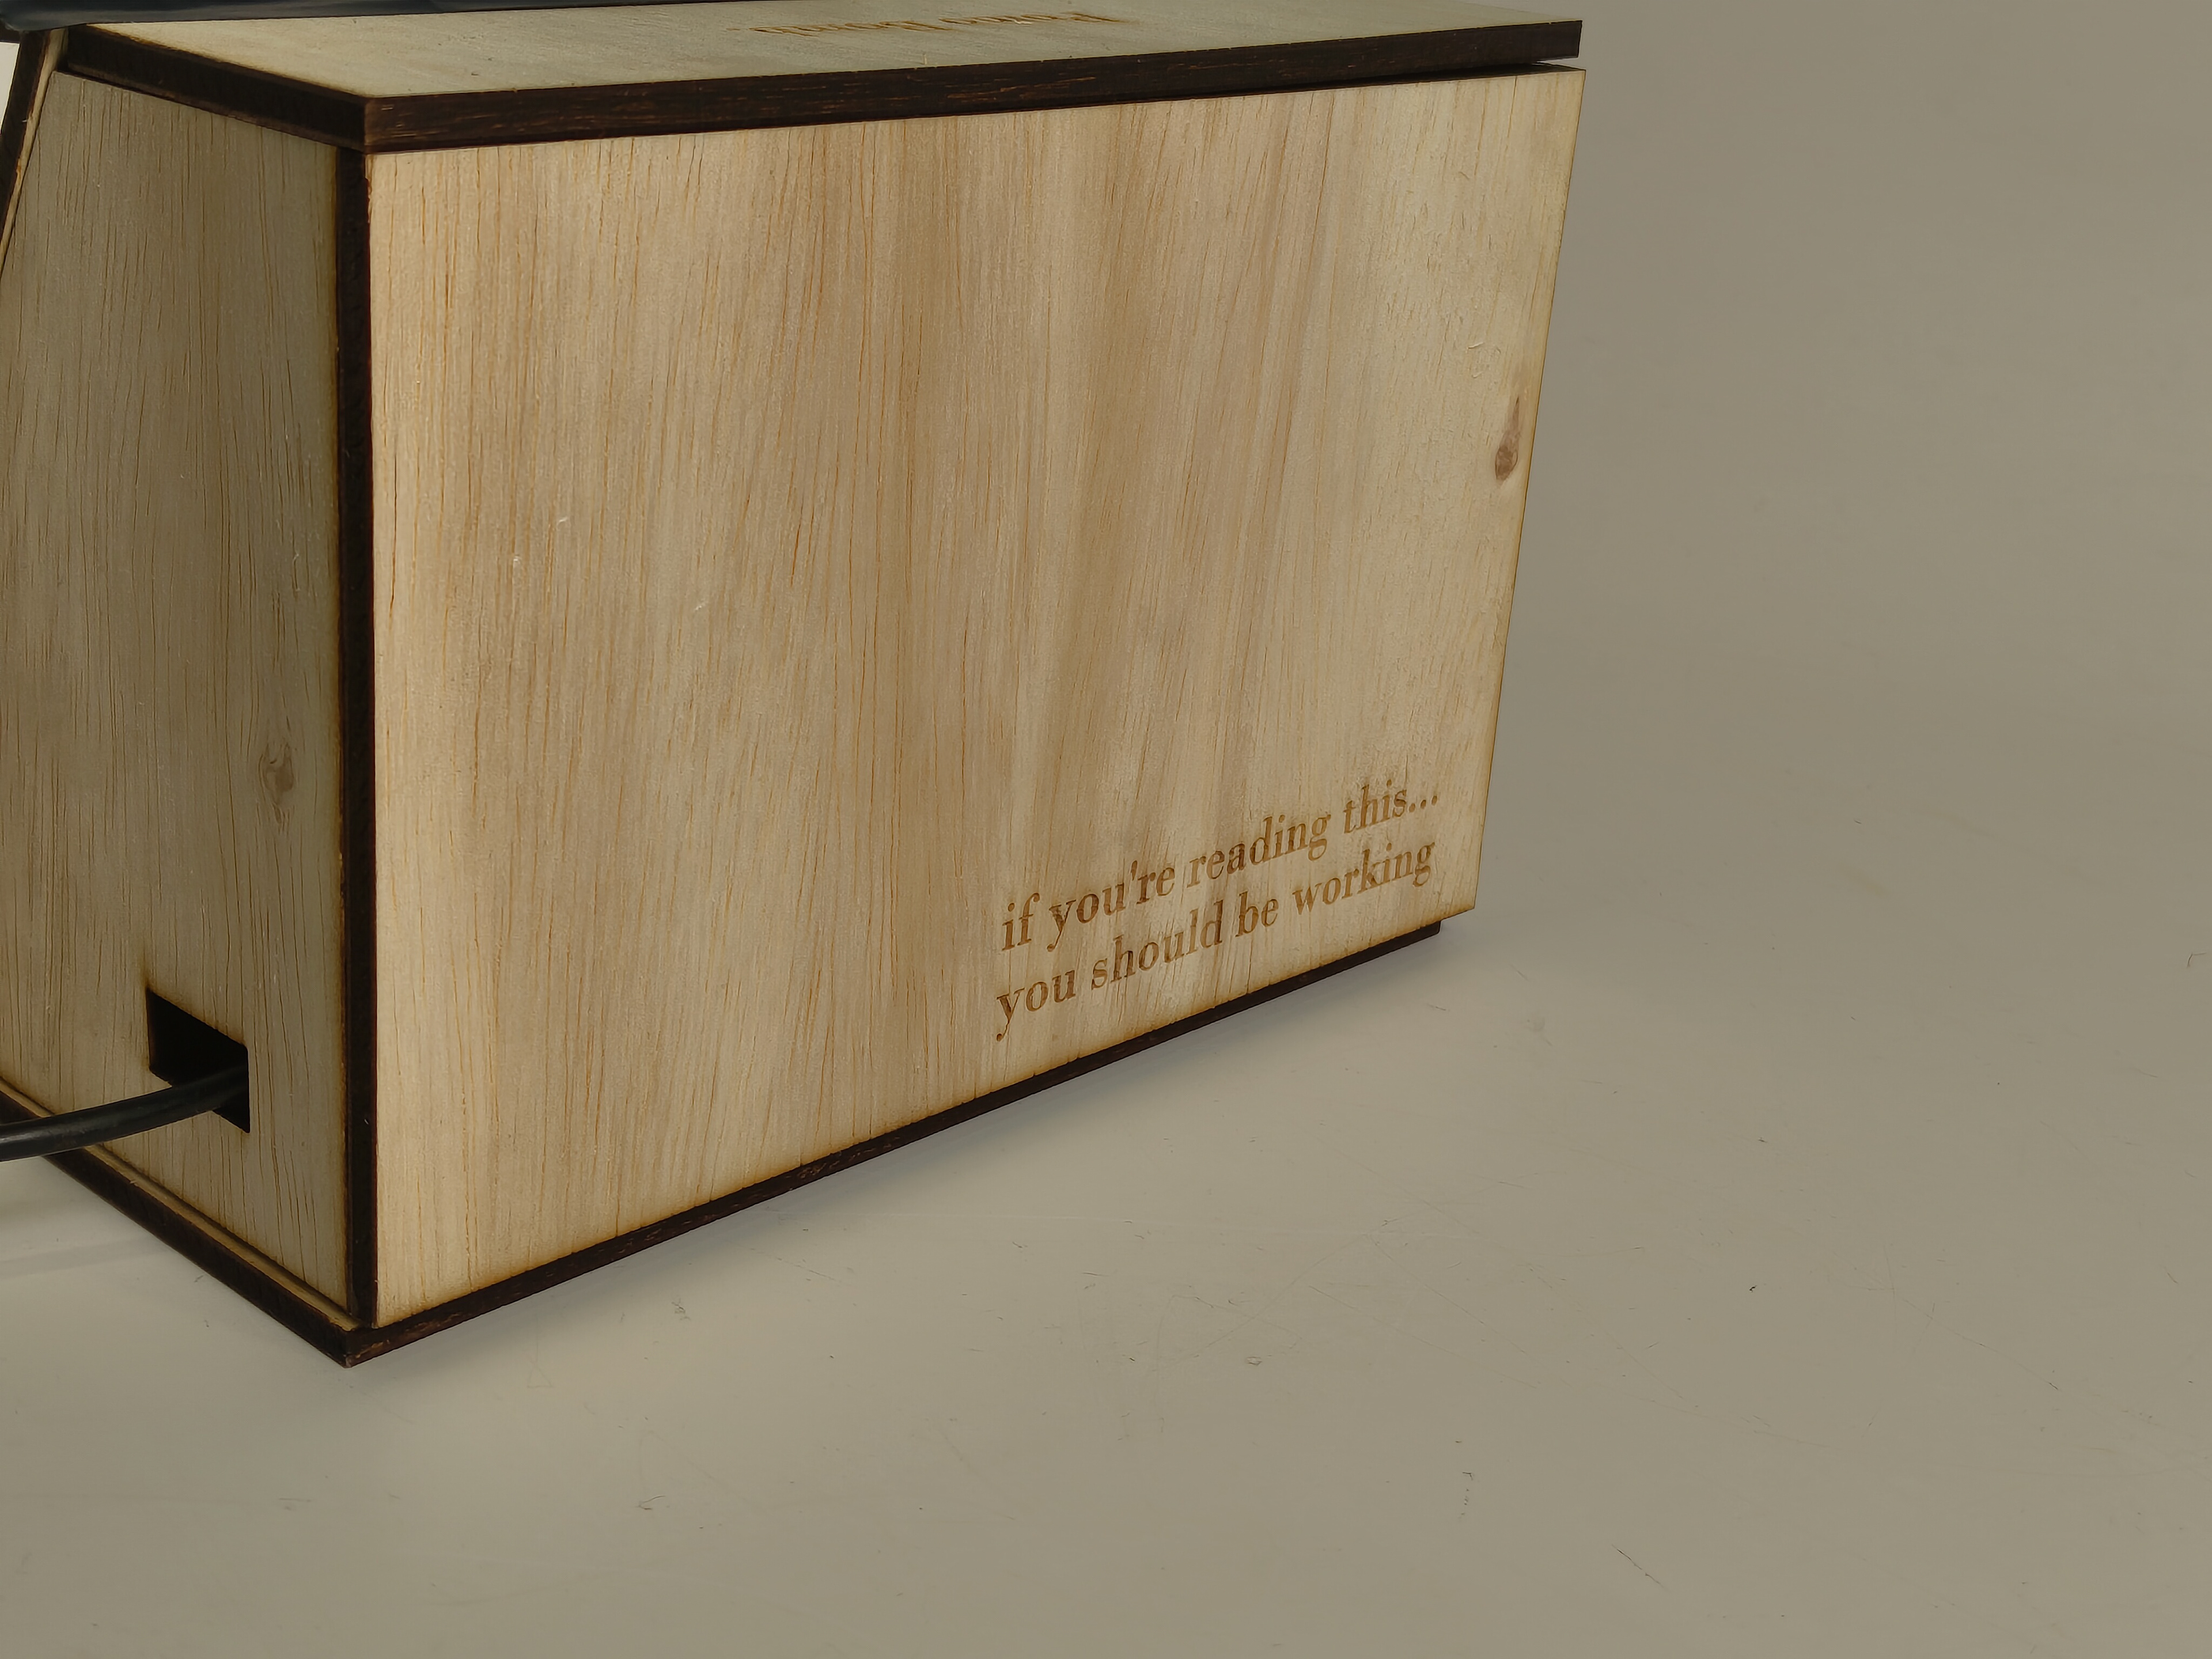
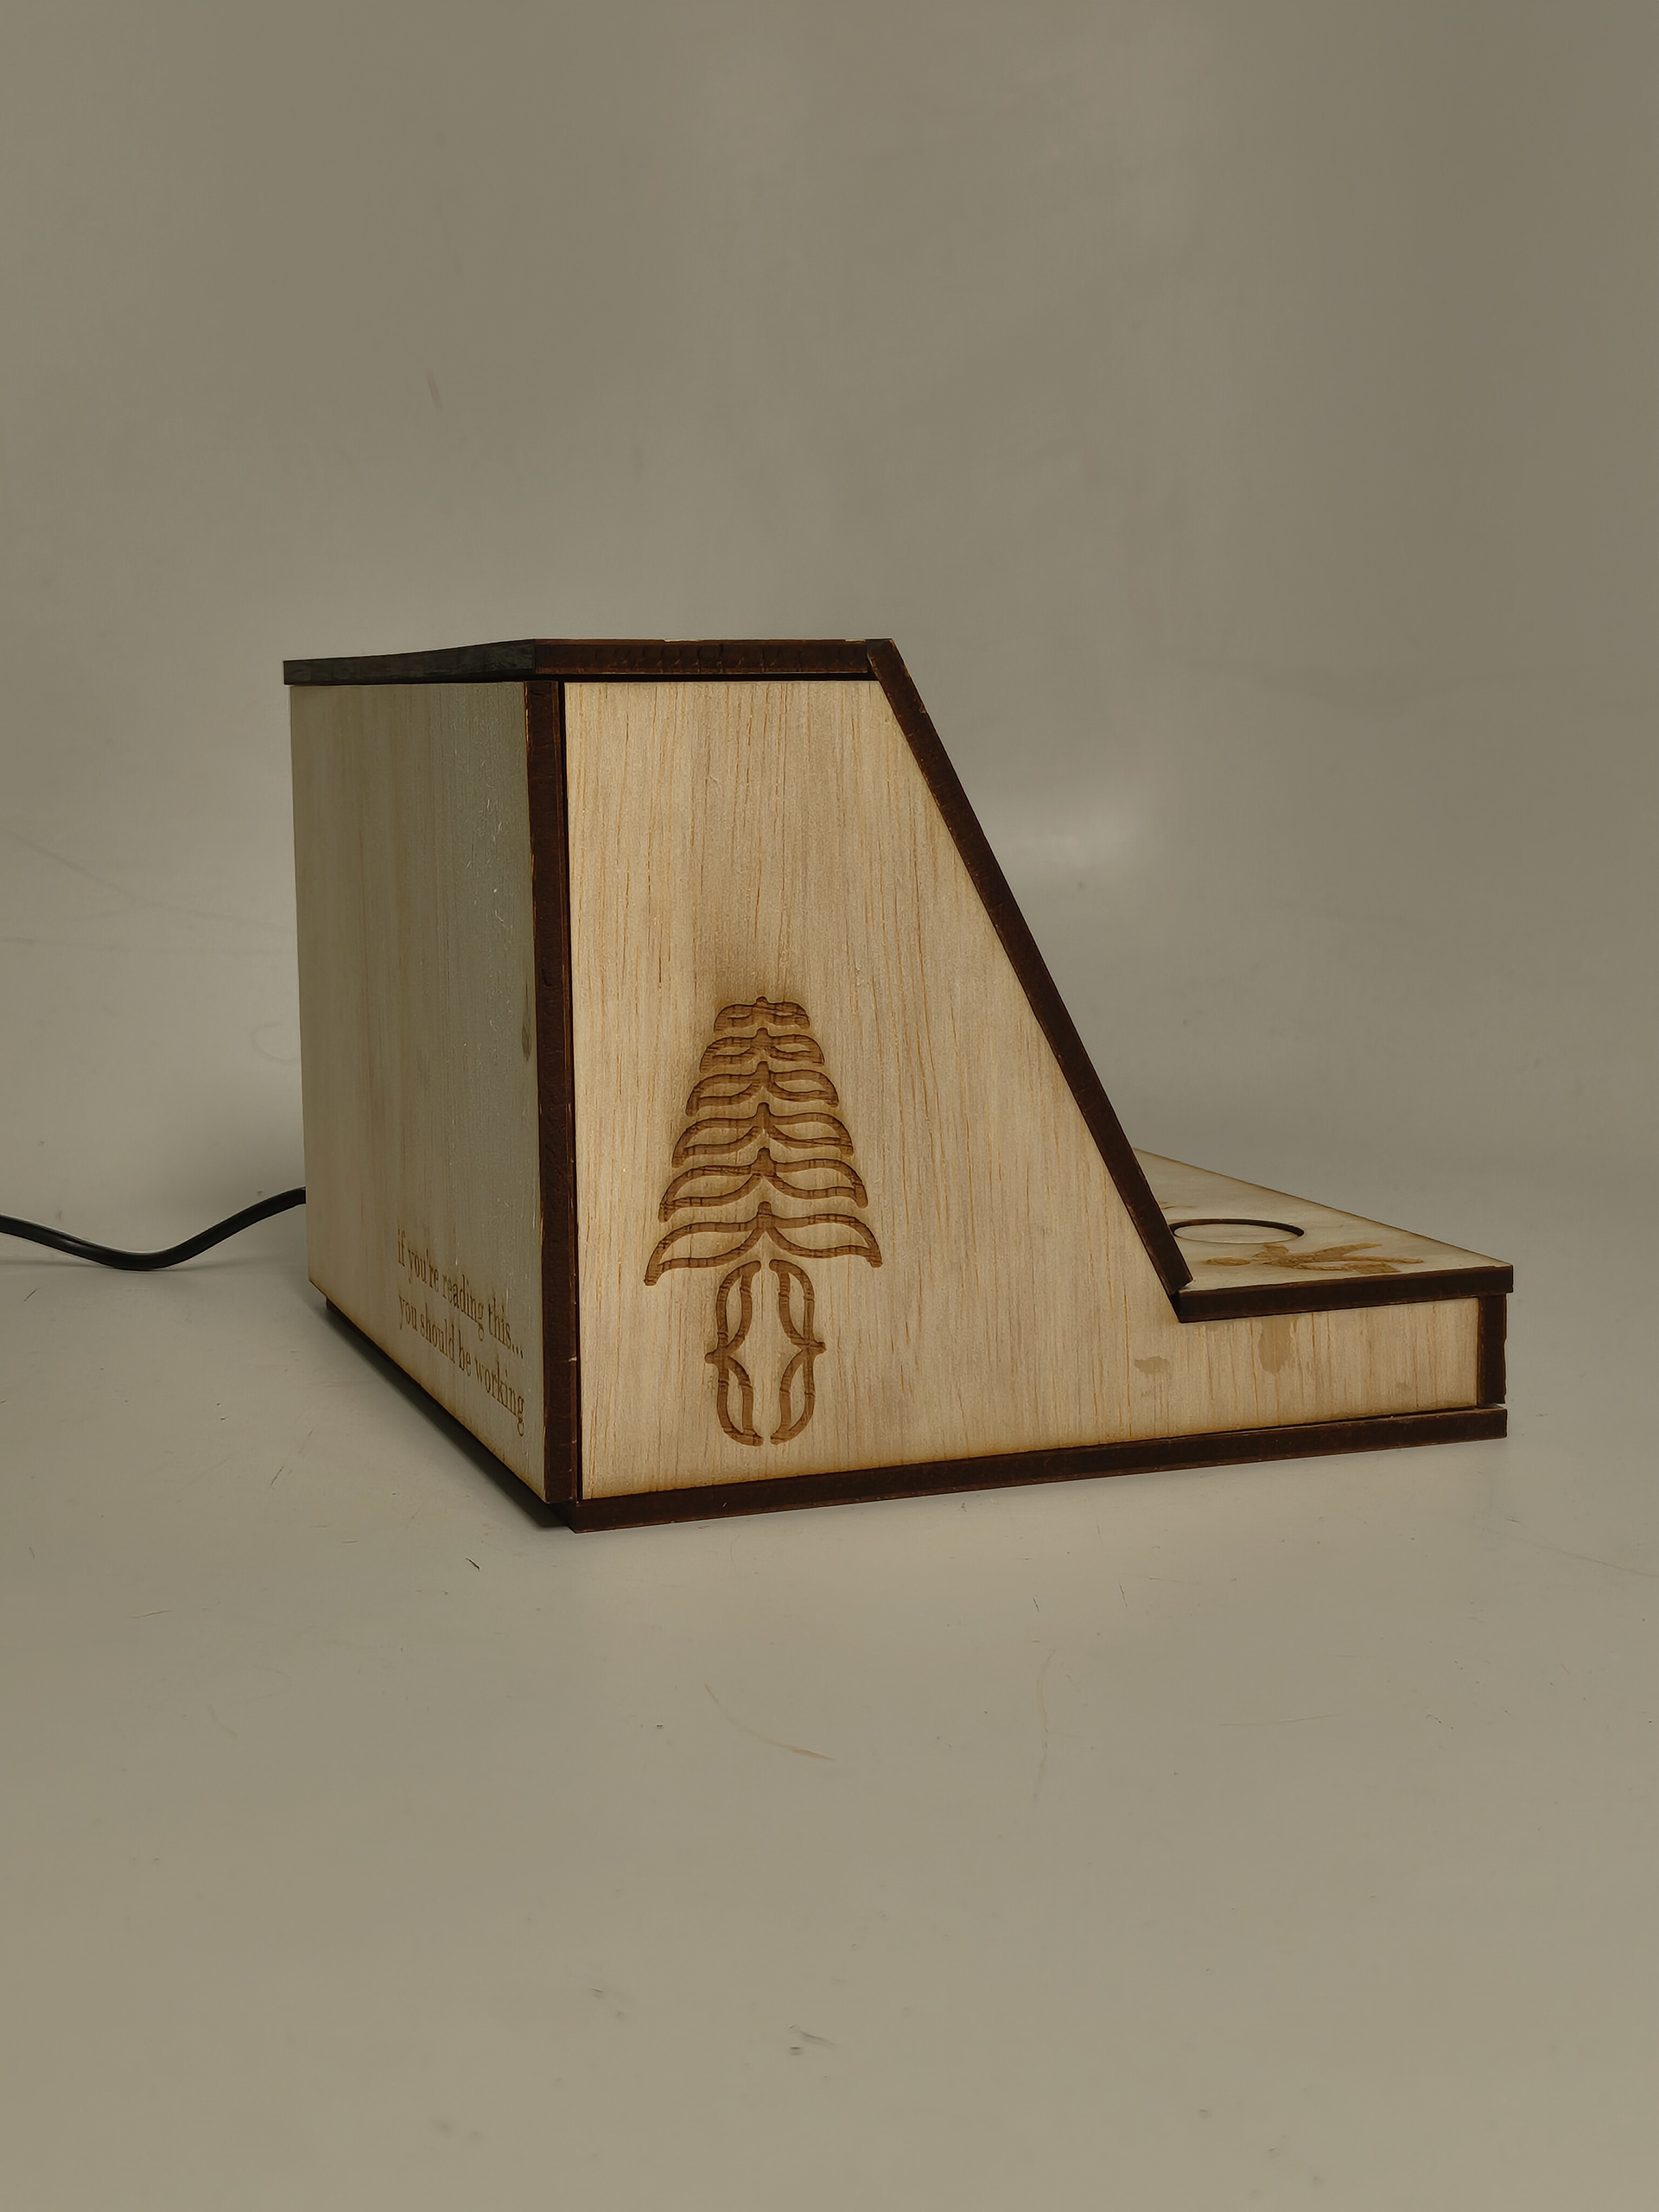
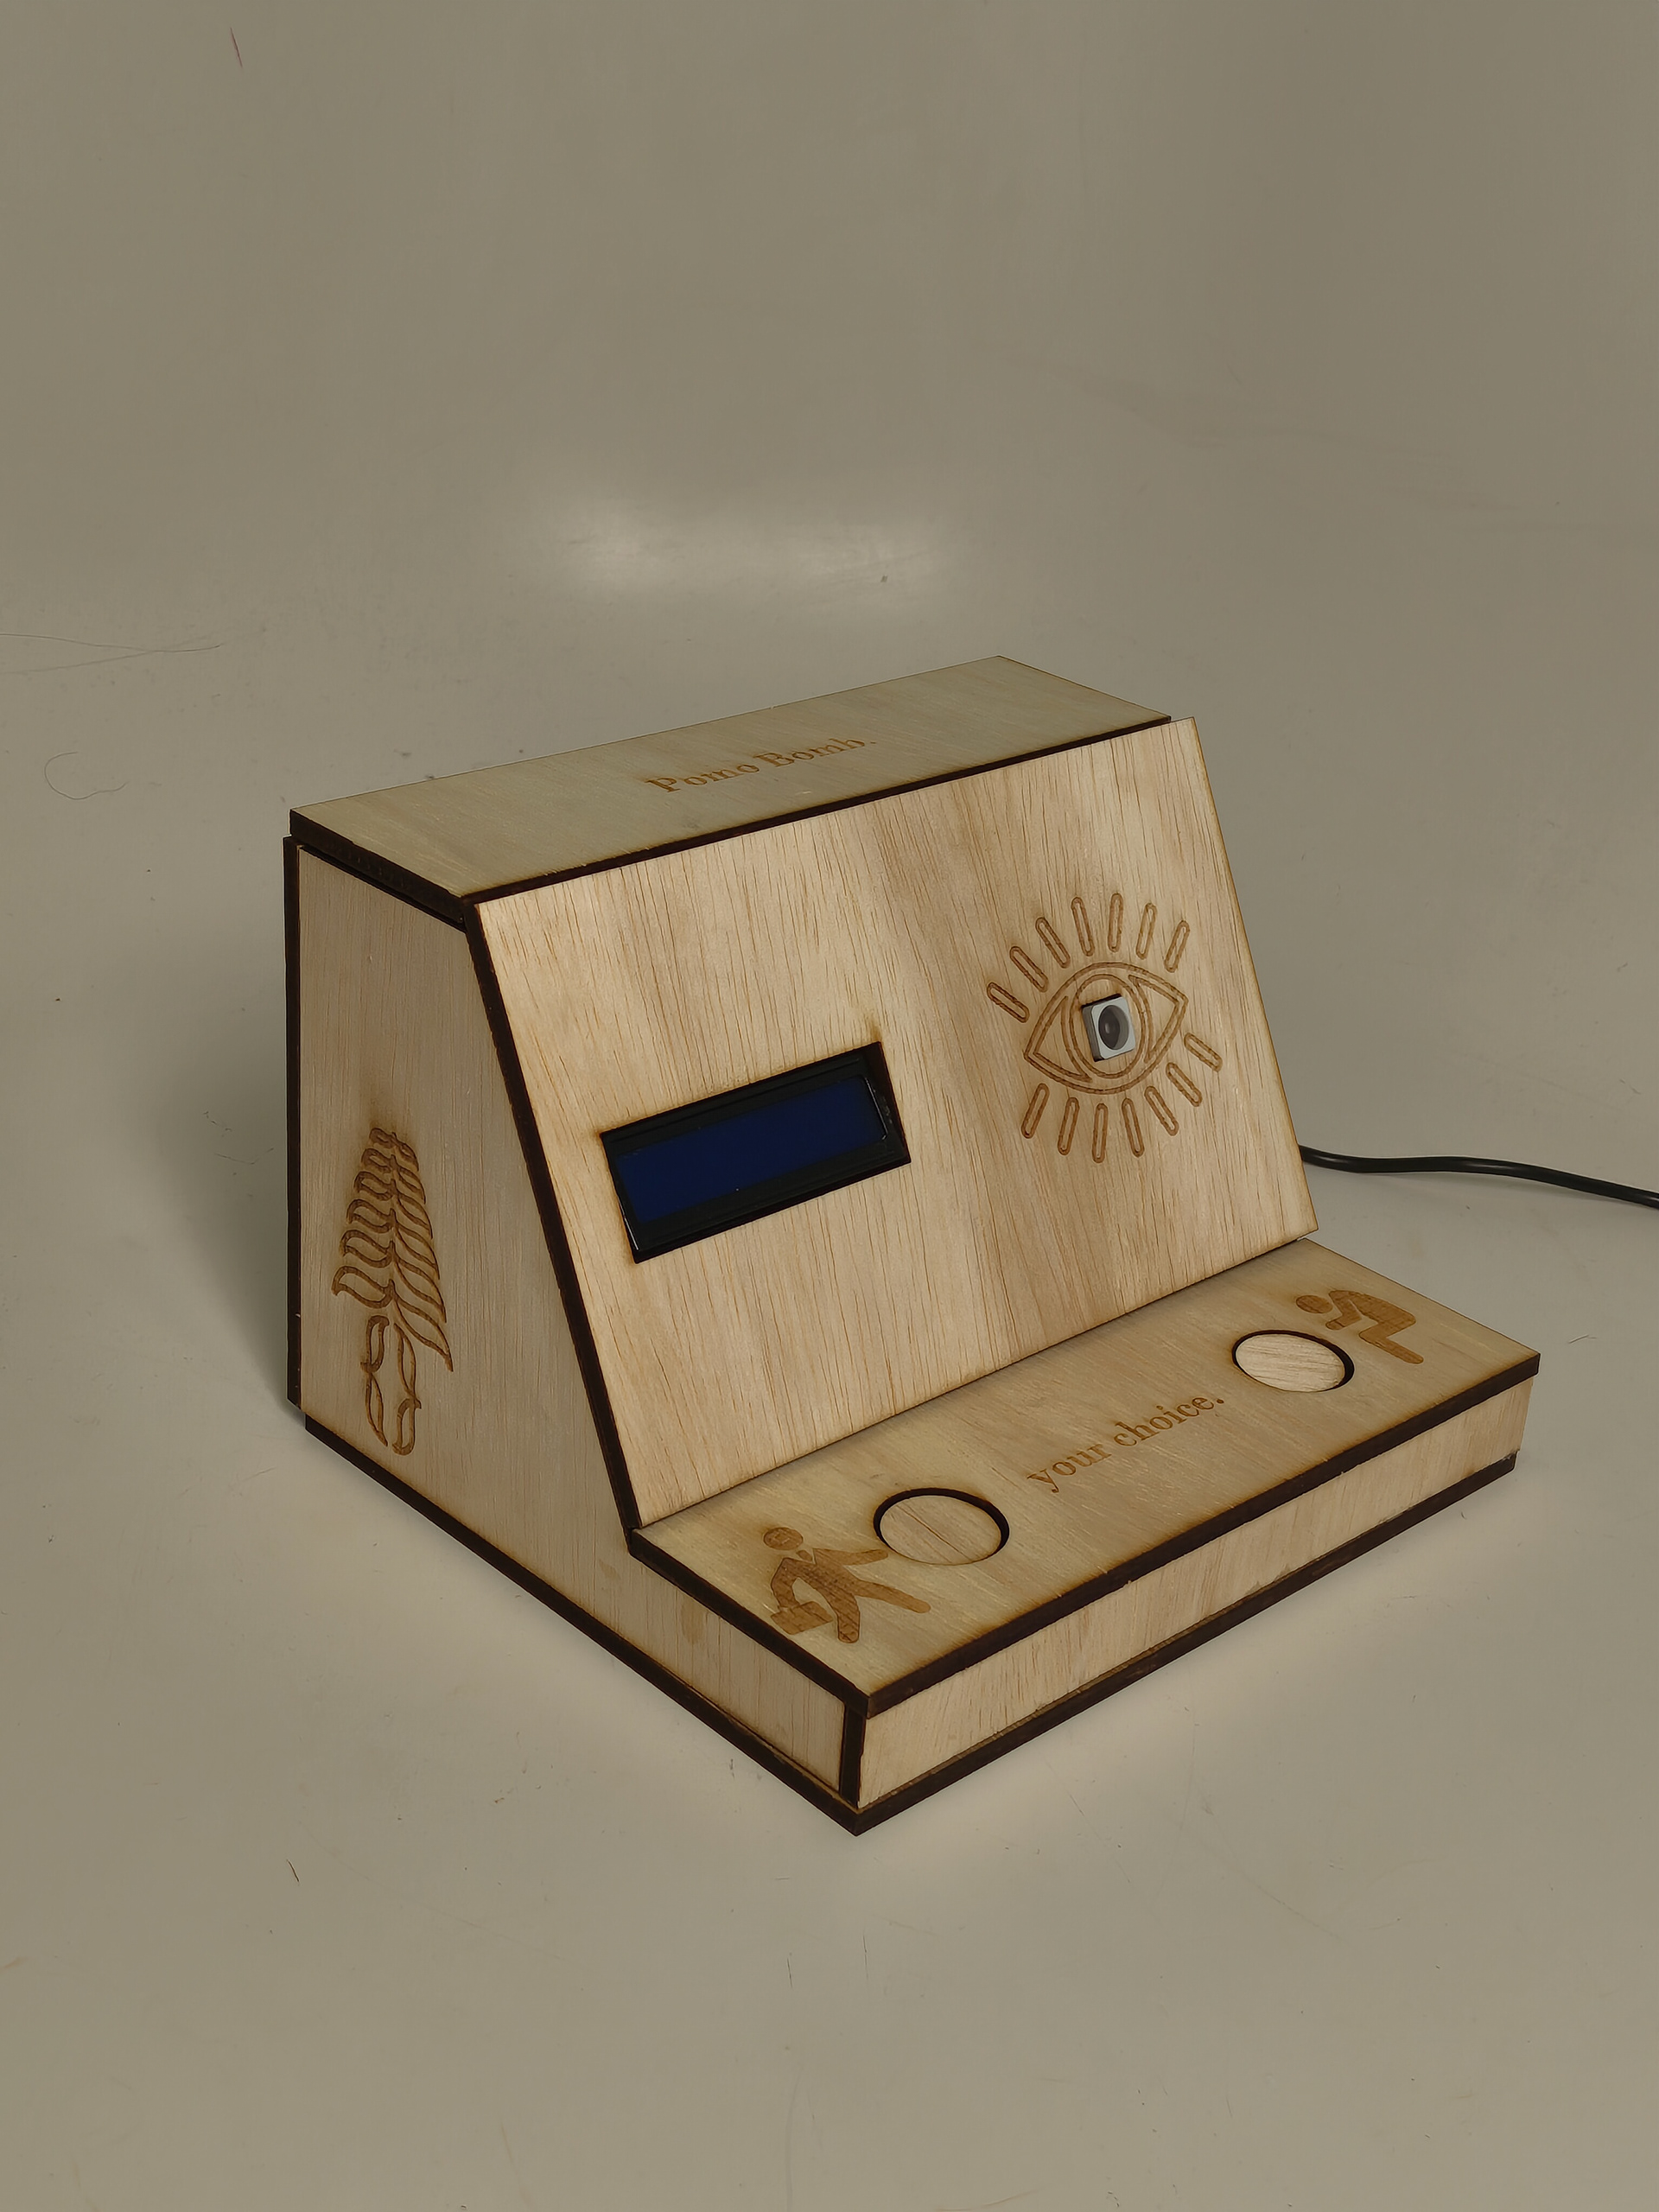
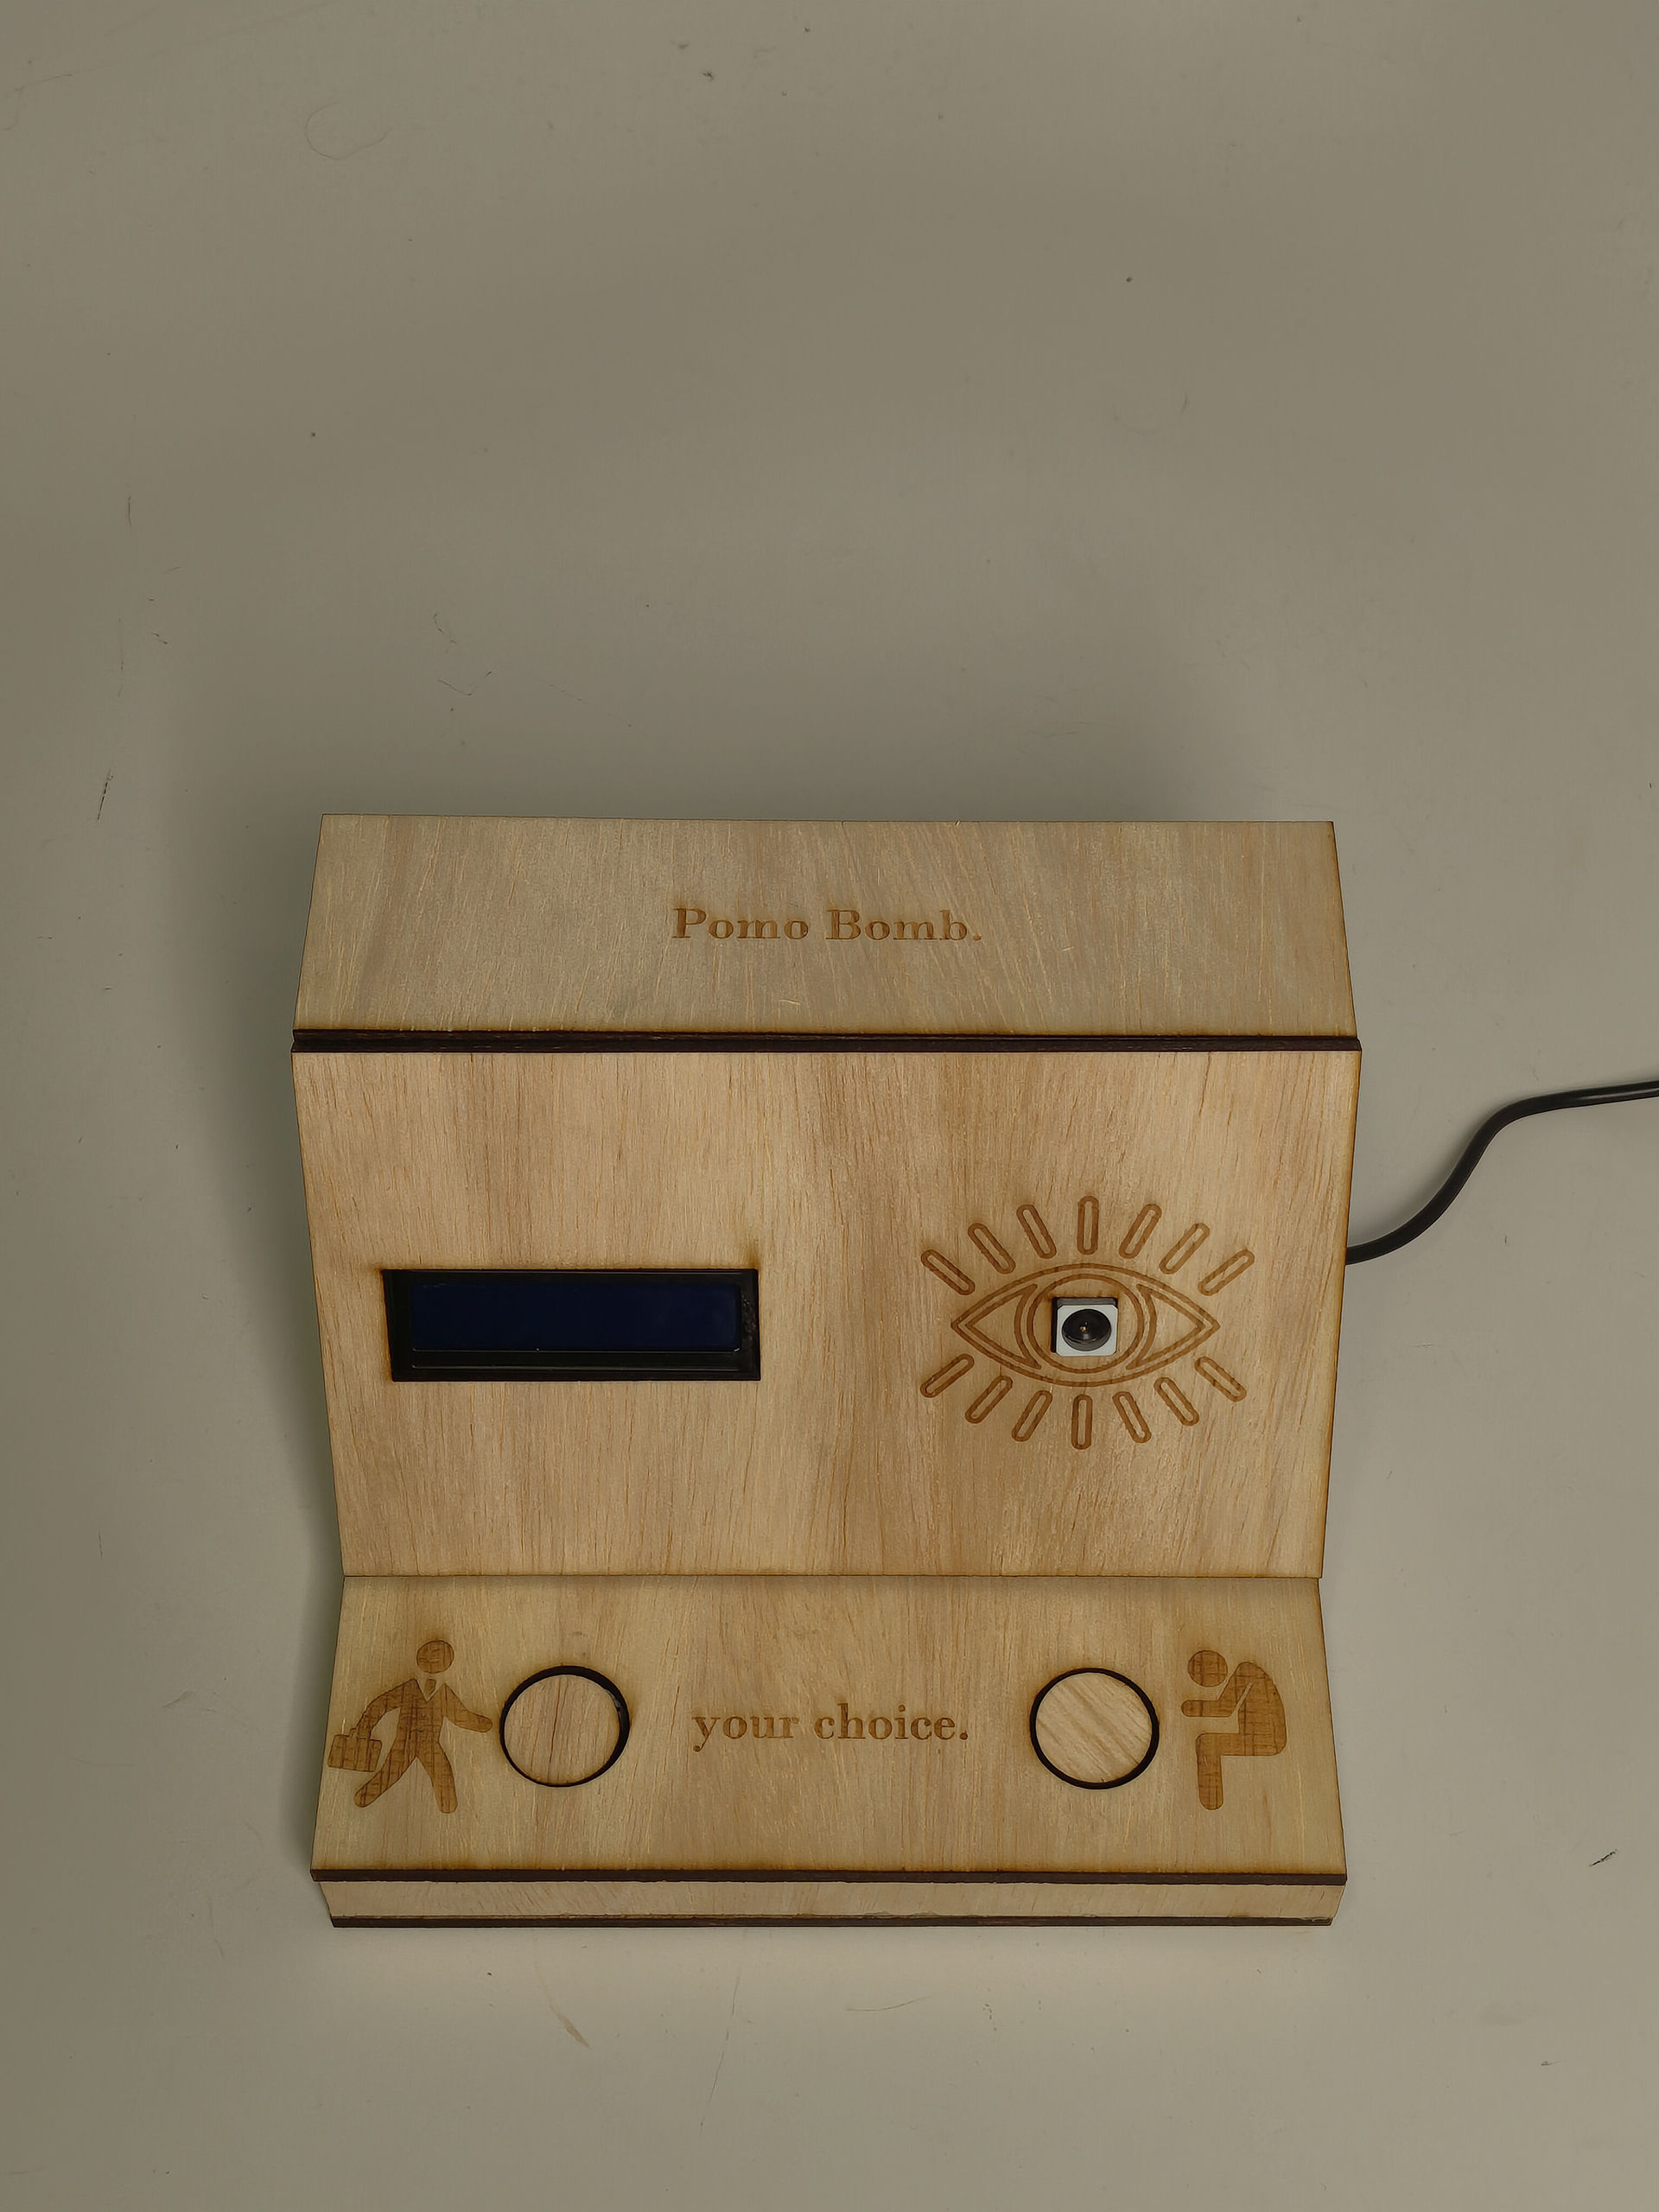
The physical design of the project features a laser-cut enclosure made from plywood. This material was chosen for its affordability, and ease of construction. The laser-cut design provides a clean look while being durable. It is also lightweight, making it portable.
The enclosure is designed to house all the components securely, with cutouts for buttons, power supply, the LCD display, and the camera. There is also an aesthetic appeal of natural plywood, which adds a warm, an d minimalist touch, blending well with a variety of environments, especially my bedroom.
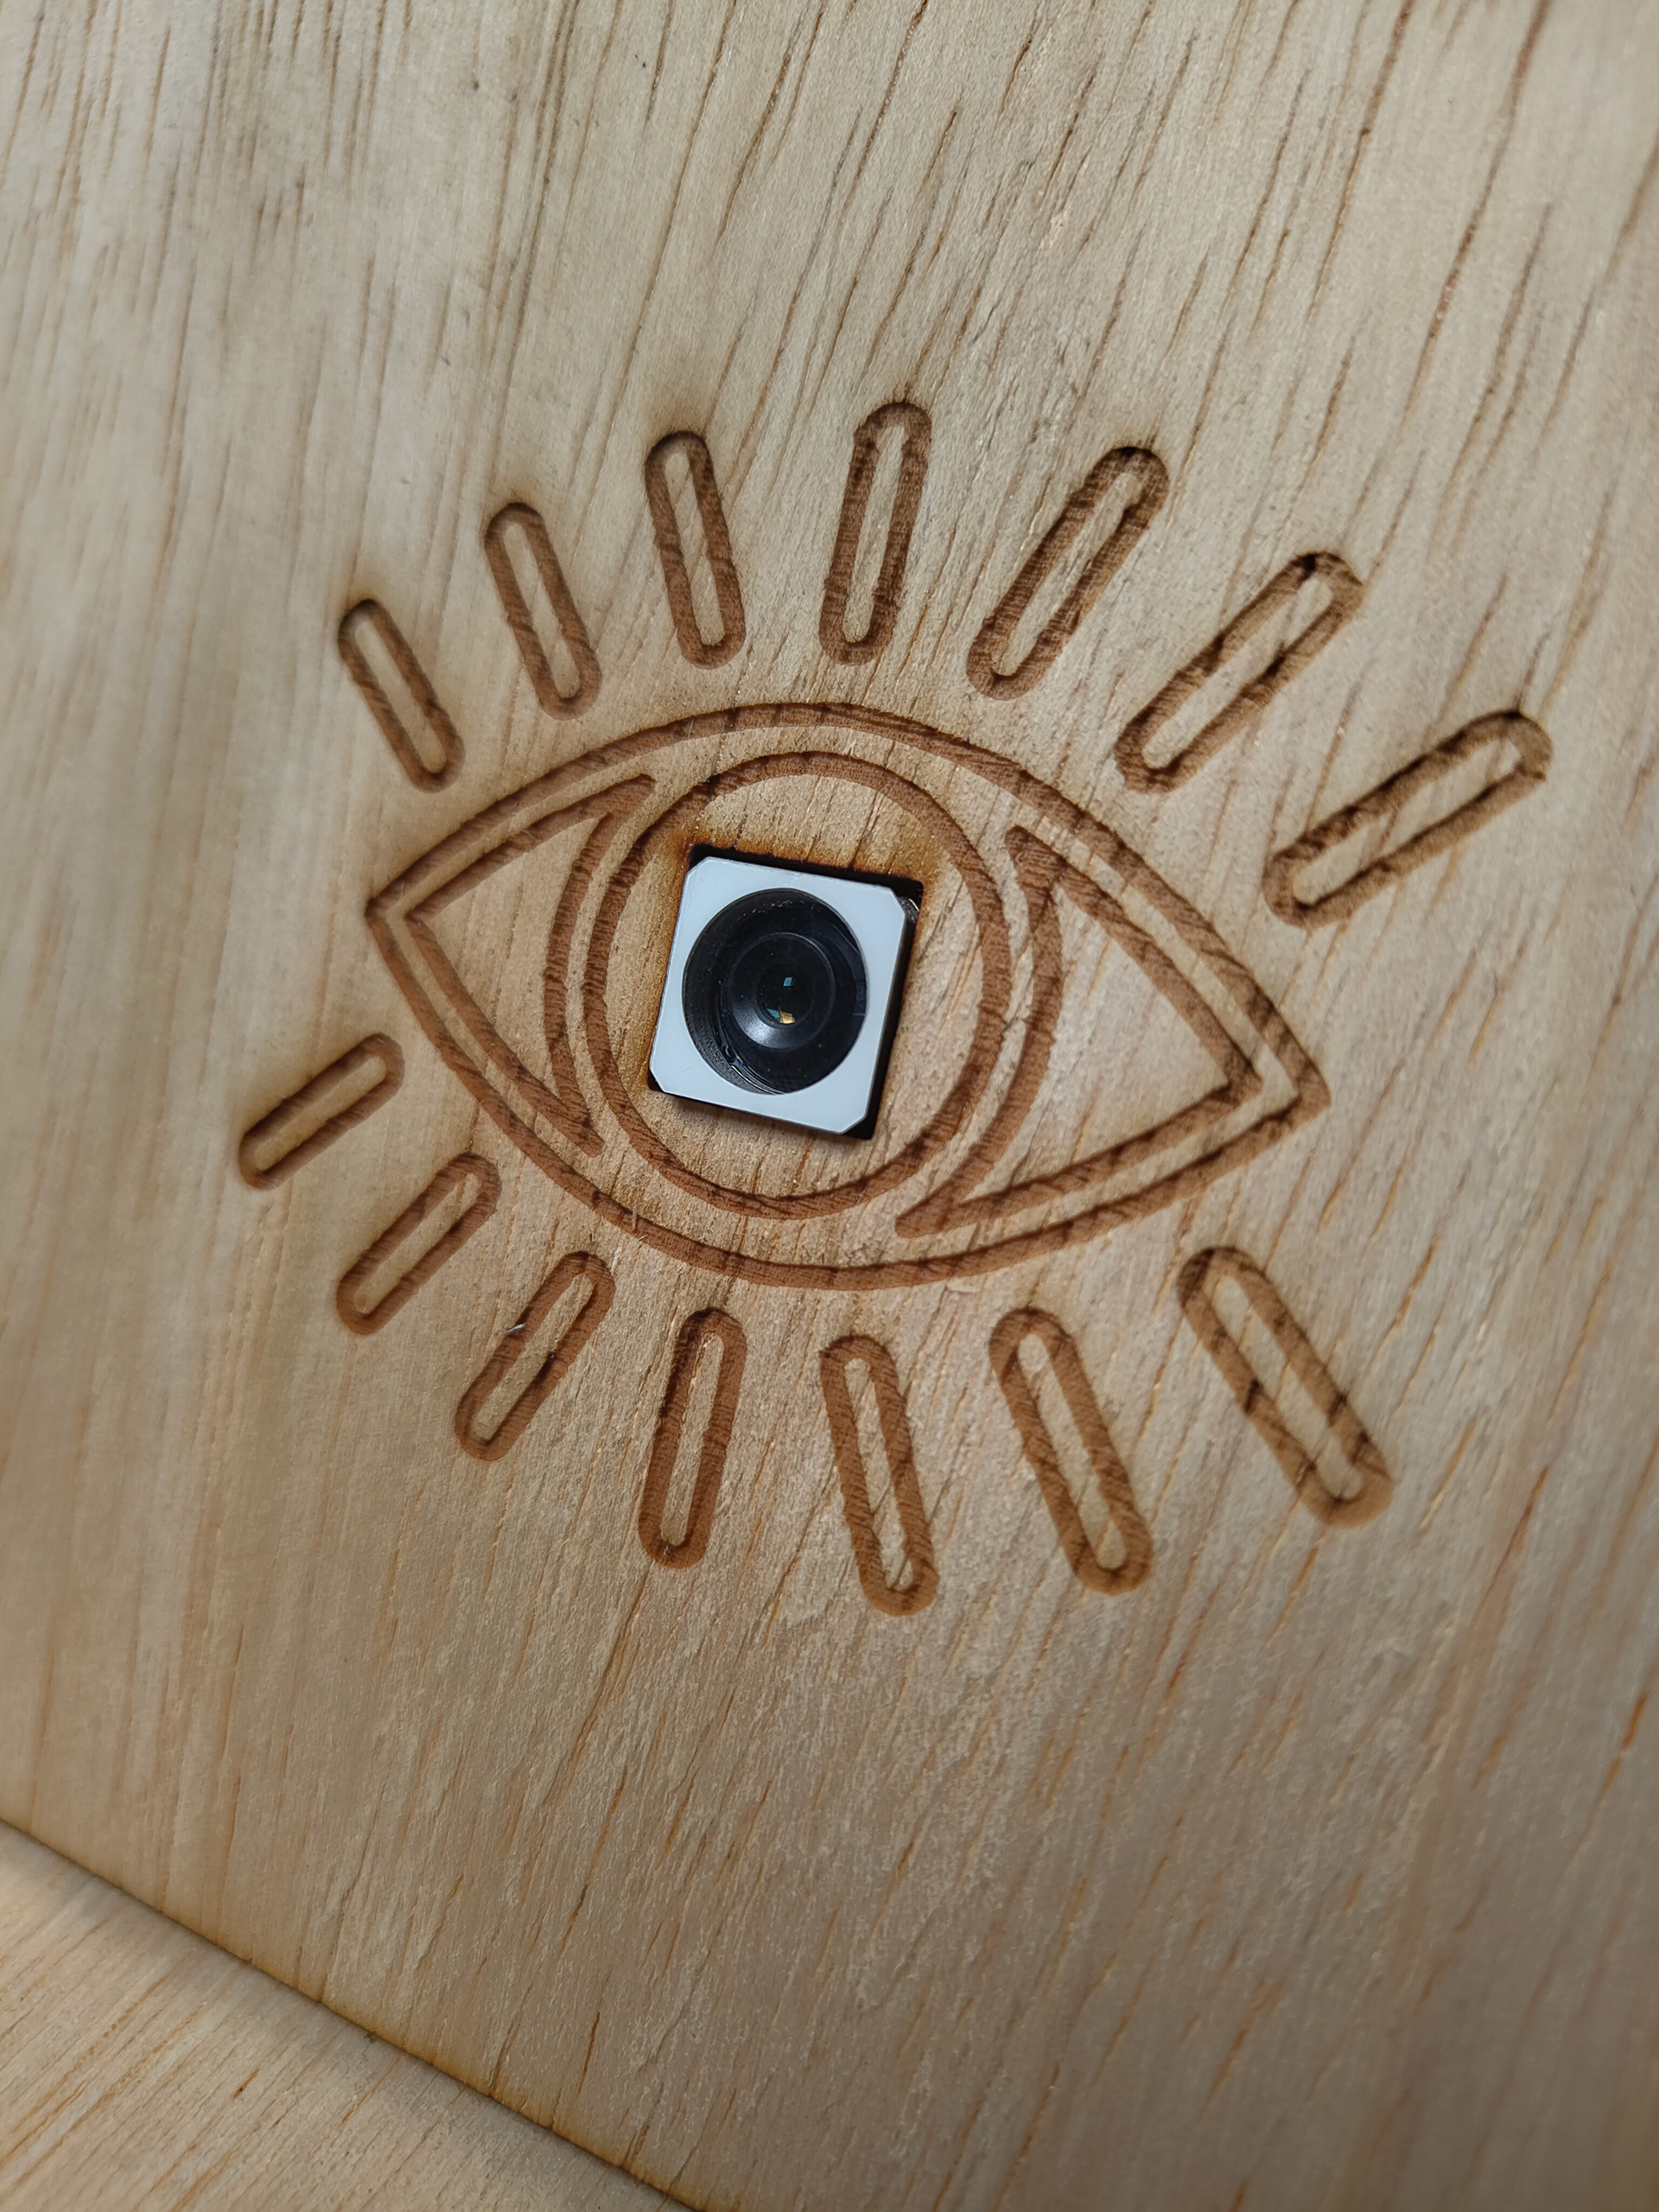
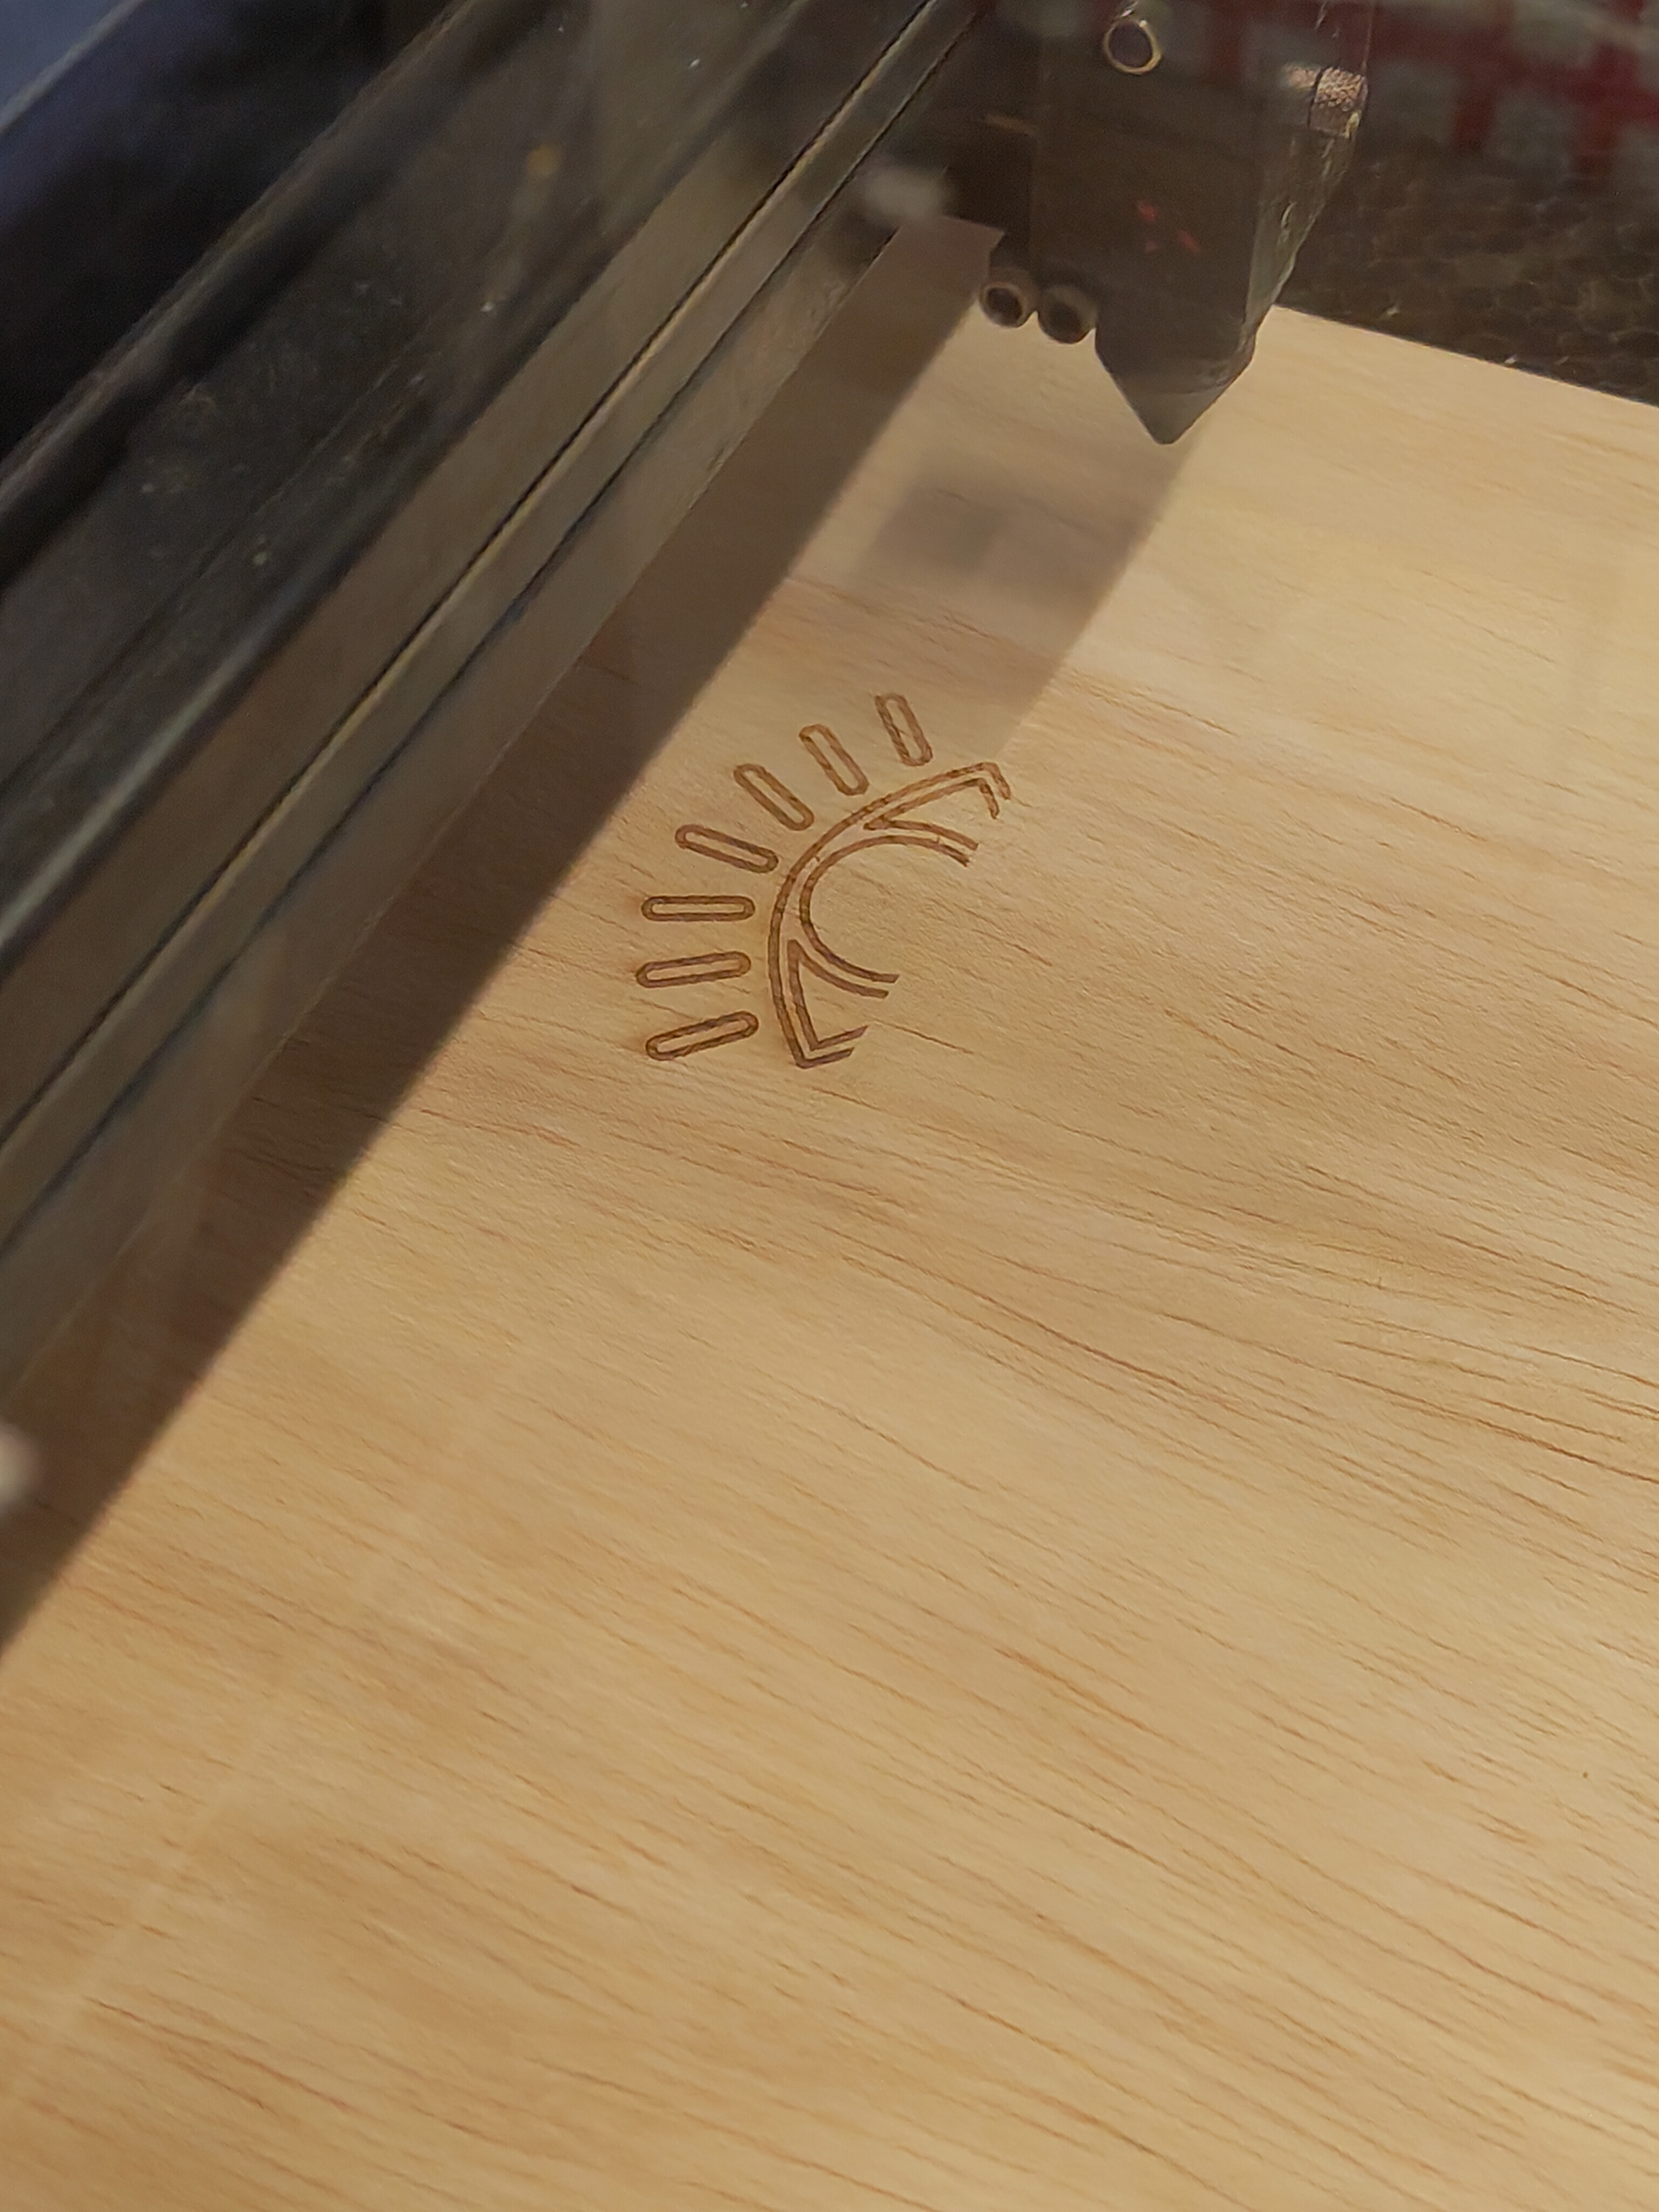
It also features a variety of laser engravings throughout the enclosure. On the surface with the buttons, there are two figures, one that is resting and one that is ready to work, which signifies the functionality of the buttons. There is an eye engraving around the camera as well, which reminds the user of its visual capabilities.
Functionalities
Pomodoro Timer:
-Offers a structured work and break schedule, defaulting to 25-minute work intervals and 5-minute breaks.
-Adjustable durations using buttons for customized time settings.
Computer Vision Tracking:
-Utilizes a Raspberry Pi camera module and the MediaPipe Pose library to monitor the user’s presence and behavior.
-Detects when the user leaves their seat or picks up their phone during work sessions.
Real-Time Feedback:
-Sends signals to an Arduino microcontroller, which triggers a buzzer if distractions are detected during work mode.
-Buzzer feedback stops automatically once the user returns to their seat or puts their phone away.
LCD Display:
-Displays the current mode (work or break), remaining time in the session, and provides visual feedback on session progress.
Physical Buttons:
-Two buttons allow the user to start or stop the timer and adjust work or break durations in 5-minute increments.
Development
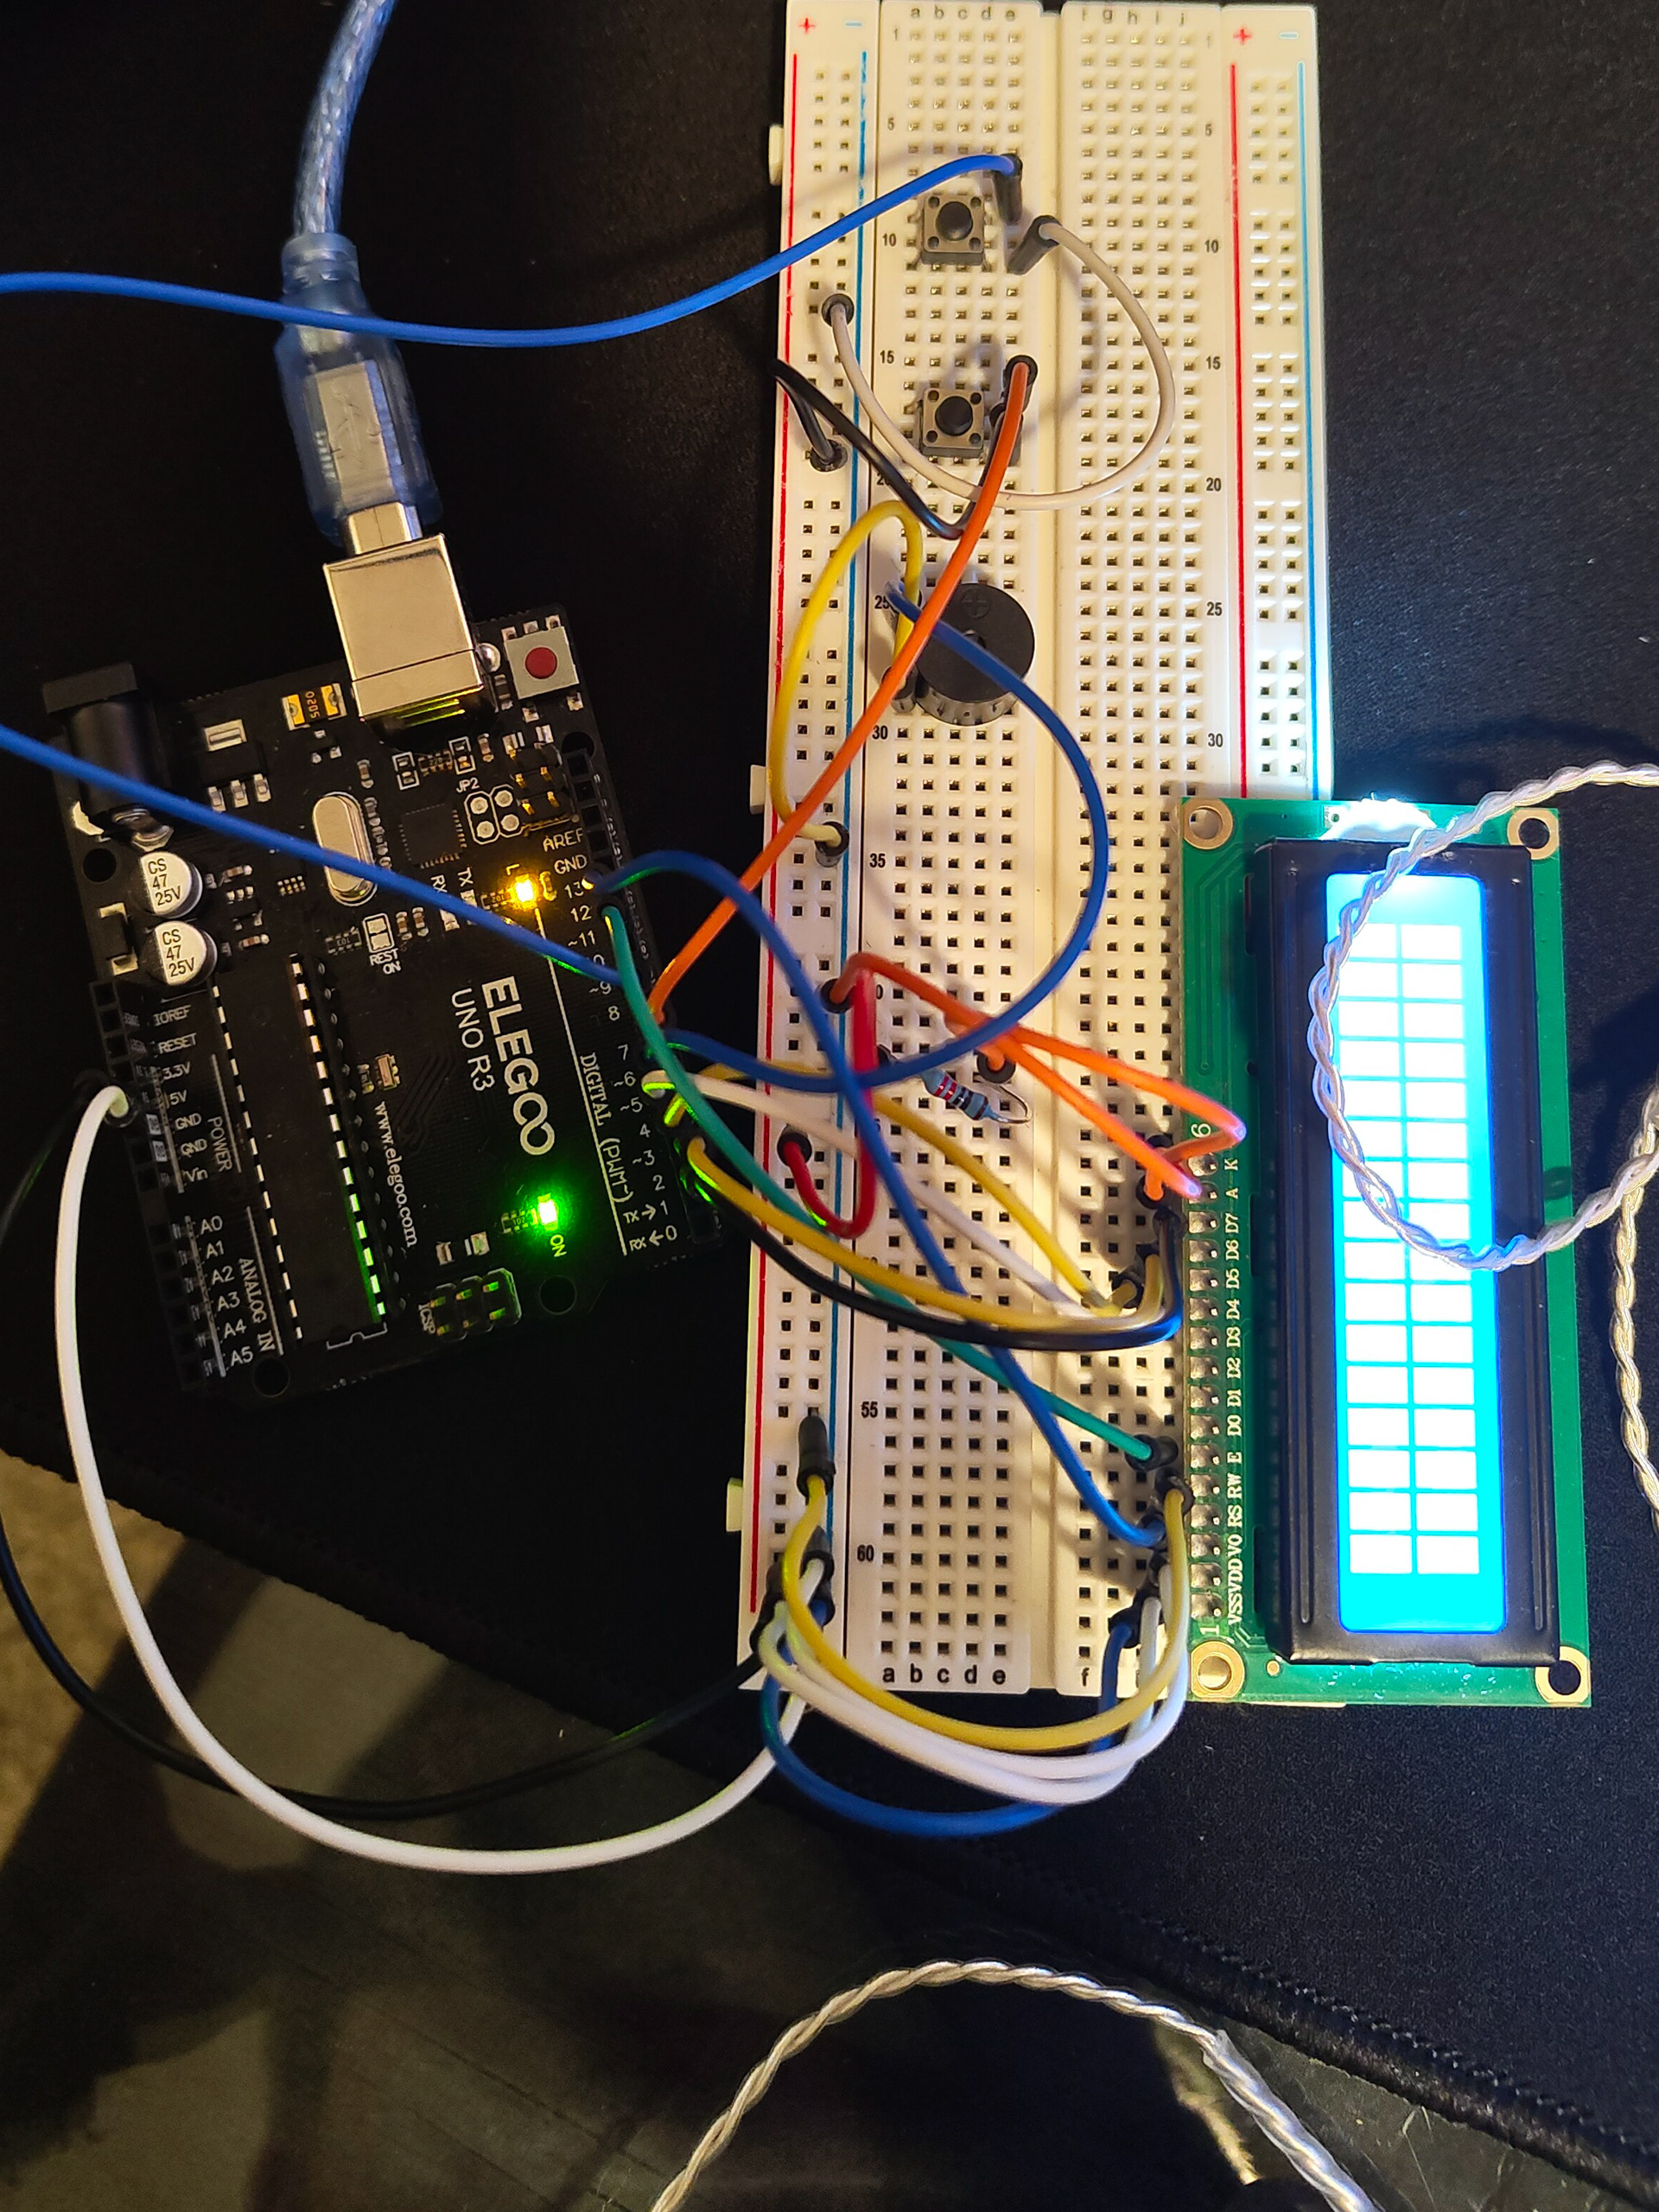
The Pomodoro Productivity Tracker uses the following hardware components:
Raspberry Pi 5: Handles body presence and phone usage detection.
Arduino Uno: Manages the timer, buzzer feedback, and user inputs.
Camera: Used with MediaPipe for real-time presence and activity tracking.
16x2 LCD Module: Displays session details.
Active Buzzer: Provides escalating feedback during work sessions.
Buttons: Allow user interaction for starting sessions and adjusting durations.

Software
This is certainly the area where 95% of my time and efforts went.
Raspberry Pi:
Python with the MediaPipe library for detecting body presence and phone usage.
Serial communication to send distraction signals to the Arduino.
Arduino:
C++ with integrated timer control and buzzer feedback mechanisms.
Serial data handling to interpret signals from the Raspberry Pi.
Final Product
The final product is a functional Pomodoro Timer and productivity monitoring system, combining an Arduino-based physical timer with a Raspberry Pi running computer vision. The device successfully integrates a pomodoro timer with a real-time monitoring system, encouraging the user to maintain focus during study or work sessions. This device could be most effective in a common study area, such as norlin library.
Features:
Pomodoro Timer:
Work Mode: Configurable timer (default 25 minutes) for focused work.
Break Mode: Configurable timer (default 5 minutes) for relaxation.
LCD Display: Clearly shows the current mode and countdown time.
Active Buzzer: Provides audible feedback during session transitions.
Productivity Monitoring:
Computer Vision: Tracks whether the user remains seated and phone usage.
Feedback Integration: Triggers the Arduino's buzzer to alert the user if they move away or pick up their phone during work sessions.
Physical Design:
Enclosed in a laser-cut plywood case.
Key Functionalities:
Integration: The Raspberry Pi handles computer vision tasks, while the Arduino controls the timer and provides physical feedback, creating a cohesive system.
Real-Time Feedback: Near immediate alerts encourage the user to stay focused without requiring manual tracking.
Configurable Settings: Allows customization of work and break durations, catering to individual needs.
Usability:
Plug-and-Play: Automatically runs upon powering up, requiring no manual setup.
Accessible Design: Clear instructions on the LCD and intuitive button controls for ease of use.
Challenges and Solutions
The development of the Pomodoro Timer with Computer Vision was a rewarding experience but not without significant challenges. Here are some of the most notable challenges I faced:
Library Installation and Configuration:
Setting up the Raspberry Pi environment to be able to run all the necessary computer vision aspects were one of the most time-intensive aspects. I encountered countless compatibility issues while installing key libraries like OpenCV, MediaPipe, and TensorFlow Lite.
Solution: I spent countless hours researching dependencies, troubleshooting errors, and resolving conflicts through trial and error.
Camera Integration:
The Arducam 64MP camera initially failed to work, producing errors such as "Error reading frame from camera." Debugging involved navigating complex settings and verifying hardware compatibility.
Solution: Using tools like libcamera and v4l2-ctl, I explored different camera configurations, adjusted sensor properties, and modified Raspberry Pi's config.txt to enable proper camera functionality. Testing with smaller resolutions helped diagnose the source of frame-read errors.
Serial Communication Issues:
Establishing a reliable serial connection between the Raspberry Pi and Arduino required careful port selection and data synchronization.
Solution: Through A LOT of testing, I identified the correct /dev/ttyACM0 port and ensured the Python script and Arduino sketch were synchronized. Implementing clear serial signals and error handling made the communication reliable.
Hardware Troubleshooting:
Combining the Raspberry Pi, Arduino, camera, and buzzer in a single system led to unexpected hardware conflicts and integration issues.
Solution: Careful debugging of connections, power supply management, and ensuring no interference between components resolved these problems.
Extensive Time in Terminal Interface:
I spent an OVERWHELMING amount of time troubleshooting errors in the terminal interface of the raspberry pi. These included issues with system services, incorrect configurations, and managing Python virtual environments.
Solution: While frustrating, this process taught me the importance of systematically addressing one problem at a time and thoroughly reading error logs. I learned the hard way that detailed notes ensured I could replicate successful setups if needed.
System Stability:
Running continuous image processing on the Raspberry Pi caused system slowdowns and instability over time. Heating also became a major issue when running the Pi for extended periods, especially during intensive computer vision tasks.
Solution: Reducing the camera's frame resolution and optimizing TensorFlow Lite processes lowered the system's load. Adding error-handling mechanisms helped prevent crashes. For heating, I utilized a heatsink and external fan to dissipate heat and maintain system performance.
Feedback Mechanism Synchronization:
Ensuring the buzzer feedback was consistent with the user’s absence or distractions proved tricky. There were delays in recognizing events and activating the buzzer.
Solution: I fine-tuned the logic on the python code running on the Raspberry Pi, incorporating clear delays and real-time signal handling to synchronize the feedback better. There were major improvements, however, it is not as synched as I would like it to be.
Debugging Across Multiple Platforms:
Simultaneously managing and debugging Python code on the Raspberry Pi and Arduino C++ code was challenging, as errors on one system often affected the other. And it would take a while at times to figure out the source of the error.
Time Constraints:
Managing this project alongside four other project-based finals was one of the most significant challenges. With overlapping deadlines, allocating sufficient time for troubleshooting, testing, and integration was difficult.
Overcoming these obstacles made the final product all the more rewarding.
Future Iterations
Several enhancements could be made to make the device more impressive. Future iterations may include the following improvements:
1. Enhanced User Interface
Touchscreen Integration: Replace the LCD and buttons with a small touchscreen interface to provide a more modern and intuitive user experience.
LED Indicators: Add multi-color LEDs to visually display current mode (e.g., green for work, blue for break) or user feedback.
2. Advanced Computer Vision
Facial Recognition: Incorporate facial recognition to identify when the user looks away from the screen for extended periods, adding another layer of accountability.
Advanced Pose Detection: Improve pose tracking to identify subtler movements, such as slouching, to encourage better posture.
3. Physical Design Enhancements
Compact Design: Shrink the overall size by using a smaller Raspberry Pi model (e.g., Pi Zero 2 W) and optimizing the enclosure layout.
Improved Cooling: Add ventilation or a small fan to address heating issues when the Raspberry Pi is running intensive image processing tasks for long durations.
4. Expanded Functionality
Multi-User Support: Change the python code to support multiple people, making it suitable for group study sessions.
5. Gamification
Productivity Rewards: Implement a points-based reward system to motivate users and gamify the process of staying focused.

